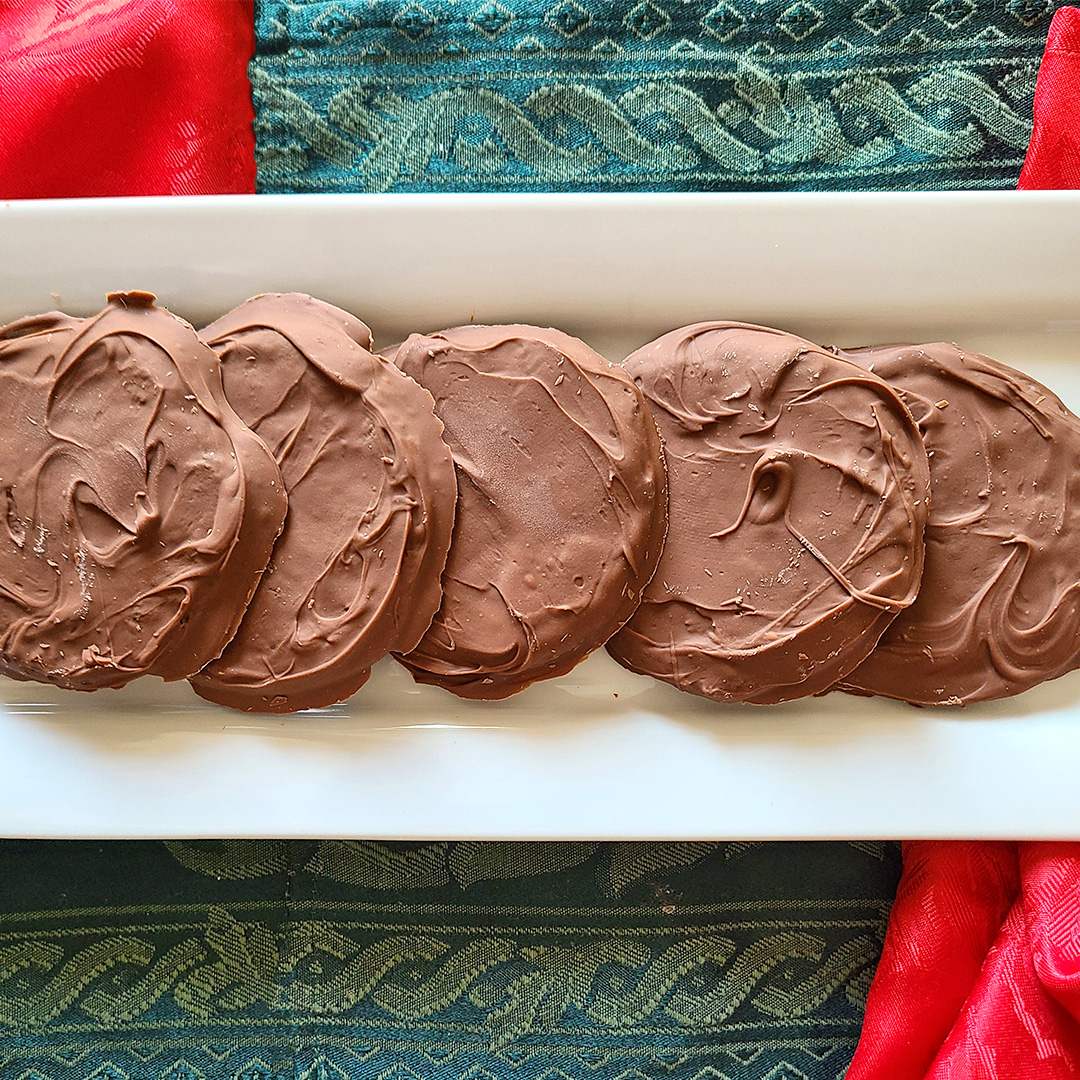
Who doesn’t love Reese’s Peanut Butter Cups? Well, I know there are a few, but I just don’t get it. Peanut butter and chocolate are a match made in heaven as far as I am concerned.
I remember finding this recipe years ago, but I am not sure where I got it from. I don’t make these very often, but it is a fun treat and you can make it in all shapes and sizes. You just need a silicone mold.
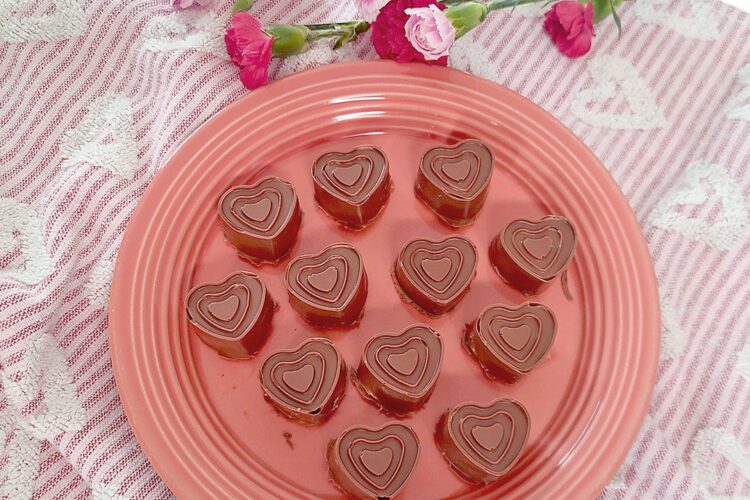
For the recipe today, I will show you how to make these in a heart shaped mold. These store best in the fridge as the chocolate tends to get too soft as it warms. Just take them out a few minutes before serving.
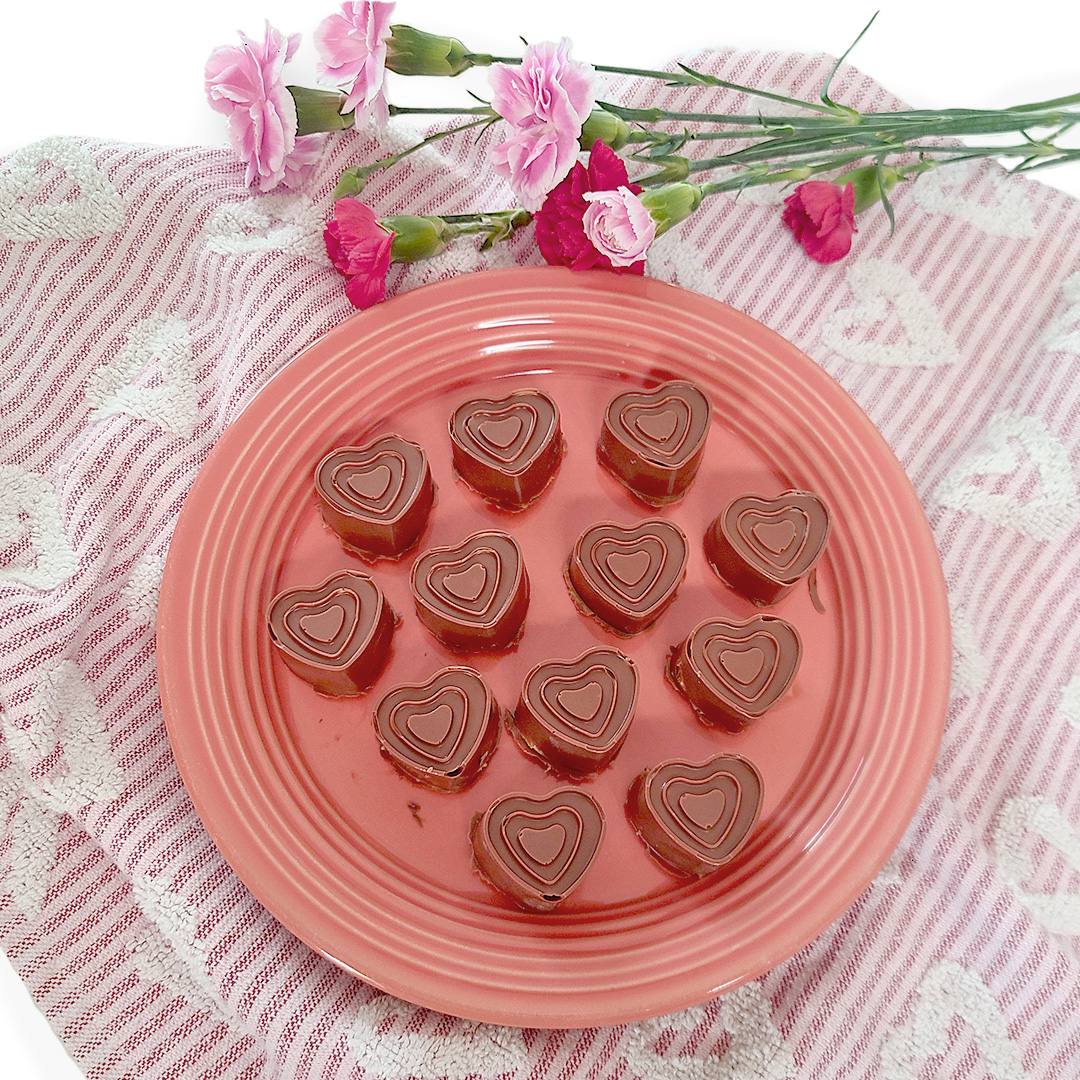
Peanut Butter Filled Chocolates
Ingredients
Equipment
Method
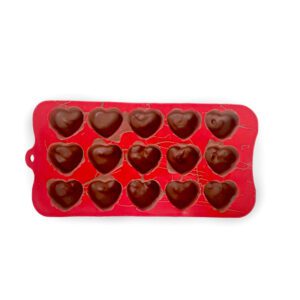
- Gather silicone mold. If your mold is flimsy, you might need a small sheet pan to place under it when putting it in the freezer. If it is a warm day, it might be helpful to put the mold in the freezer for 5 minutes before beginning.
- In a small microwave safe bowl, melt chocolate chips and refined coconut oil. Stir until smooth.
- In another small bowl, mix peanut butter, powdered sugar, vanilla, and sea salt. Set aside.
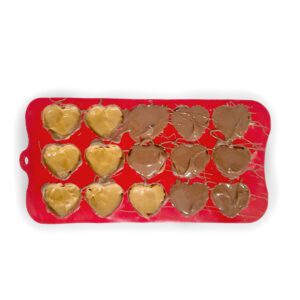
- Using a small spoon, put a small amount of melted chocolate into each part of the silicone mold. Gently smooth the chocolate around the bottom and up the sides of the mold. (this image shows this step half way completed)

- Place mold in the freezer for about 5 minutes or until chocolate is set.
- Put the peanut butter filling into a zip baggie and snip off a tiny bit of on corner to use as a piping bag. Fill each spot in the mold leaving a little bit of space at the top for more chocolate.
- To smooth the peanut butter in each spot in the mold, get your fingers slightly wet and gently push the peanut butter filling down and smooth the top. Then top the peanut butter filling with more chocolate.

- Place in the freezer for another 5 minutes.
- Pop the chocolates out of the mold and store in the refrigerator in a zip baggie until ready to use.

I hope you will enjoy making your own chocolates. I always feel much better eating these, than when I buy the store bought candies.
I would love to hear if you try this recipe and see the pictures of what shaped candy you created.
Emma
