Sugar cookies were a tradition in my family growing up. My mom made the BEST sugar cookies I have ever tasted. She made them for every holiday. When we needed to go gluten free…well, they just weren’t the same.
I tried lots of recipes. And my kids didn’t like any of them. So, I just thought we would never make cut out sugar cookies again.
Then, my youngest, who is in preschool, needed a sugar cookie to decorate for Valentine’s day at school. The teacher asked me if I could “just bring a gluten free one”. I thought in my head…Do you even know what you are asking? But what I said was “sure, no problem“.
Keys to this Recipe
A few weekends ago, I got thinking about how I could make sugar cookies that tasted good and looked good. As I pondered the basics of baking and what makes a sugar cookie fantastic, I ended up combining three recipes together.
And then in my first batch, I forgot the xanthan gum. My cookies had no shape and all baked together in one sheet of cookie. I was so SAD! It was already late at night-the night before I needed that beloved sugar cookie for preschool- but I dumped out the bad batch, and began again, making sure to add XANTHAN GUM.
That single ingredient, xanthan gum, is one of the keys to this recipe working. The second key is the refined coconut oil. This ingredient mimics the shortening, which allows the cookie to have that soft yet crispy texture. And the third key is psyllium husk. This helps the dough to roll nicely and adds some fiber. These three ingredients are essential for your sugar cookies to hold their cut out shape and give you the texture of a sugar cookie that we all love.
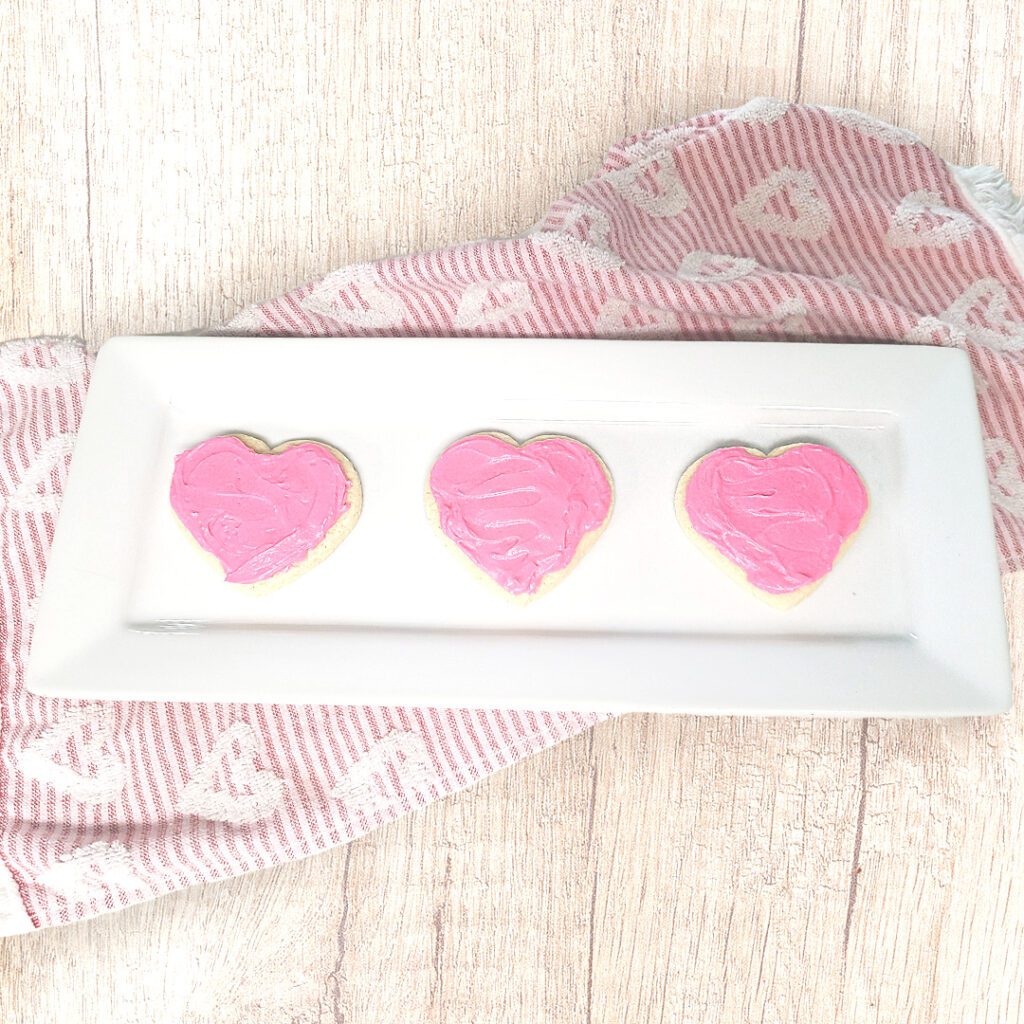
I hope this recipe will help you make many memories with your family as you cut out and bake all the shapes your heart desires. As a note, I developed this recipe where I live. I live in a suburb of Salt Lake City, UT. My elevation is 4400 ft. Keep that in mind when baking, and adjust as needed for your elevation.
My preference on frosting is butter cream all the way. In my opinion Better Homes & Gardens did it best. I was given their famous red checkered recipe book when I was married- almost 24 years ago. That recipe alone has gotten more use than any other recipe in that book. My recipe is very close to their original recipe, and then I add the coloring I need. Don’t have a butter cream recipe? You can find mine here.
Gluten Free Sugar Cookies
Equipment
- 2 sheet pans
- 2 silicone mats
- parchment paper
- hand mixer with beater attachments
- 1 large glass bowl
- spatula, measuring cups & spoons
- cookie cutters
- rolling pin
Ingredients
- 1/2 C butter, unsalted, softened
- 1 tsp refined coconut oil
- 1/2 C granulated sugar
- 1 egg
- 1 splash vanilla
- 3 TBSP powdered sugar
- 1 tsp xanthan gum
- 1 tsp baking powder
- 1/4 tsp sea salt
- 1 TBSP psyllium husk
- 2 C Emma's all purpose gluten free flour blend
Instructions
- For this small amount of dough, I find a hand mixer works better than my Bosch with a paddle. There just isn't enough dough for that kind of mixer to do a good job. You may have another type of mixer that can mix small amount of sugar cookie dough well, and that is fine to use that too.
- In a large glass bowl, beat the butter and refined coconut oil together well. Add the sugar and cream together.
- Add the egg and vanilla and mix well.
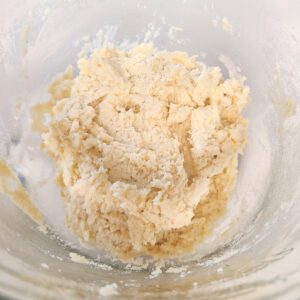
- Add the powdered sugar, xanthan gum, baking powder, sea salt, and psyllium husk and mix. Add the flour and mix until combined.

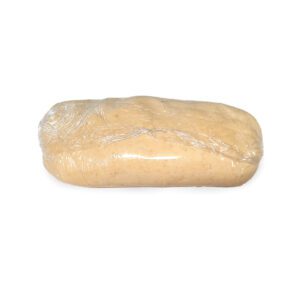
- With a spatula, scrape dough onto some plastic wrap. Press the dough together using the plastic wrap until the dough is pressed well together in a rectangle. Wrap up tightly and place in refrigerator for at least 30 minutes.

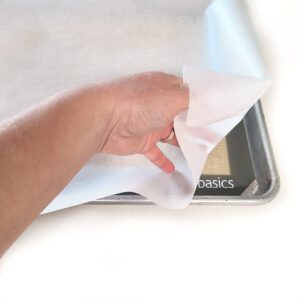
- Preheat oven to 350 degrees. Prepare baking sheets with silicone liners AND parchment paper on top of the liner.

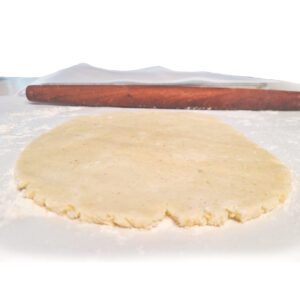
- On parchment paper on your counter, sprinkle some gf all purpose flour lightly. Take about half the dough, sprinkle some more gf flour on top, and roll it out to about 1/4 inch thickness adding tiny amounts of flour as needed.

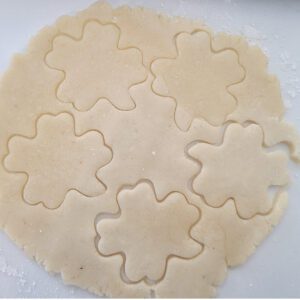
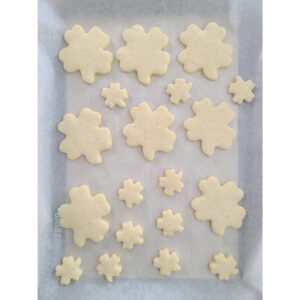
- Use cookie cutter shapes to cut out the dough. Place on the prepare pans. The dough is a bit soft, so if it sticks to your parchment paper, you can try using a metal spatula to gently lift the dough onto the prepared pan. Continue gathering scrapes and reforming the dough to roll out and cut out more shapes until the dough is used up.

- When you have filled up one pan, bake it for 11-12 minutes or until the sides of your cookies are a little firm(just don't want them to press in still when lightly touched). Cool 2-3 minutes on the baking sheet before removing to a cooling rack. This is an important step, you need the cookies to finish "cooking" out of the oven. Then place the cookies on a cooling rack to finish cooling. When completely cooled, frost and decorate as desired. (While your first batch is baking, roll and cut out the rest of the dough)

- Frost cookies as desired using my buttercream frosting or another of your choice. Once frosting is completely dried, you can store in a zip baggie or air-tight container for several days(if your family hasn't consumed them all that is!)

You can easily half this recipe too if you just need a few cookies.
Do you want to watch me demo this on Good Things Utah?
Have fun baking! Let me know how it goes!
Emma
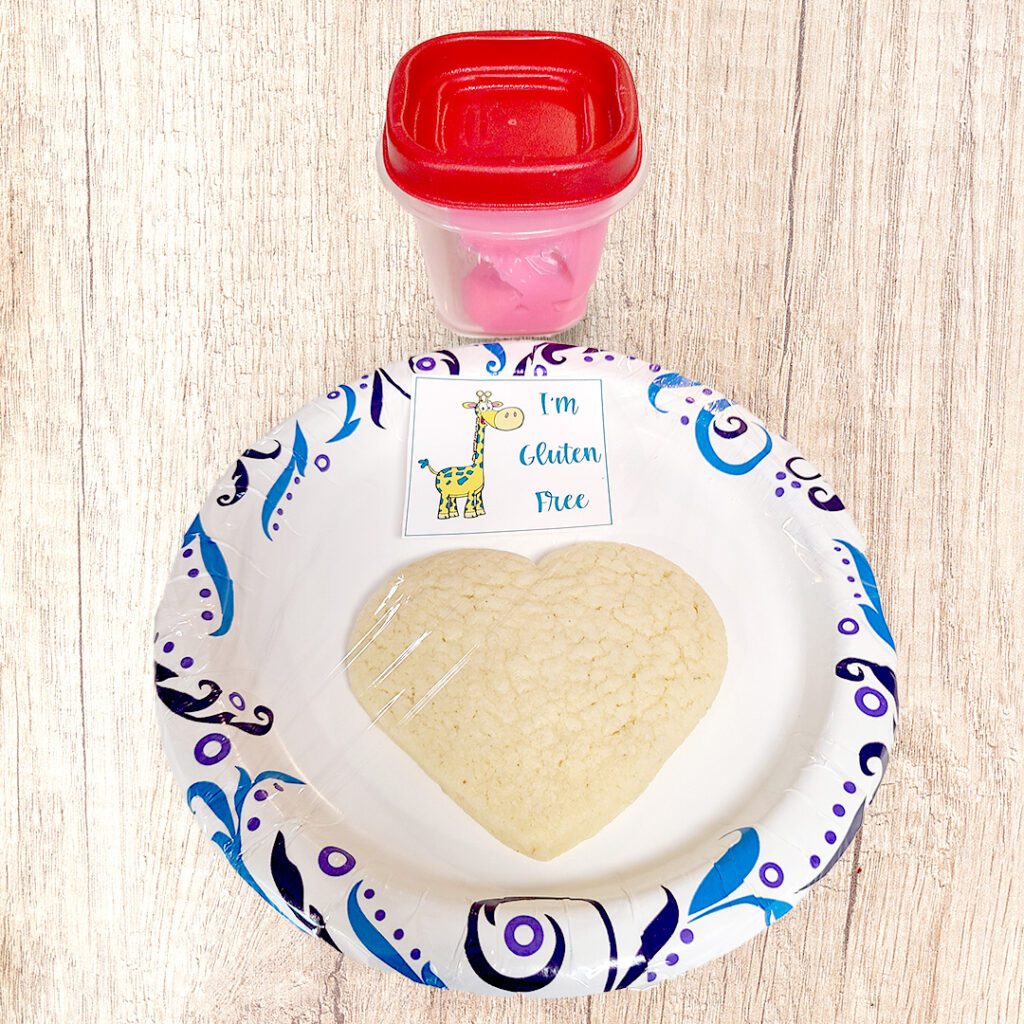
PS The next time you need a cookie for preschool, you can also have this cute “I’m Gluten Free” printable to help others know that your child’s cookie is gluten free. It is a FREE download here. Just print at home on vinyl sticker paper.

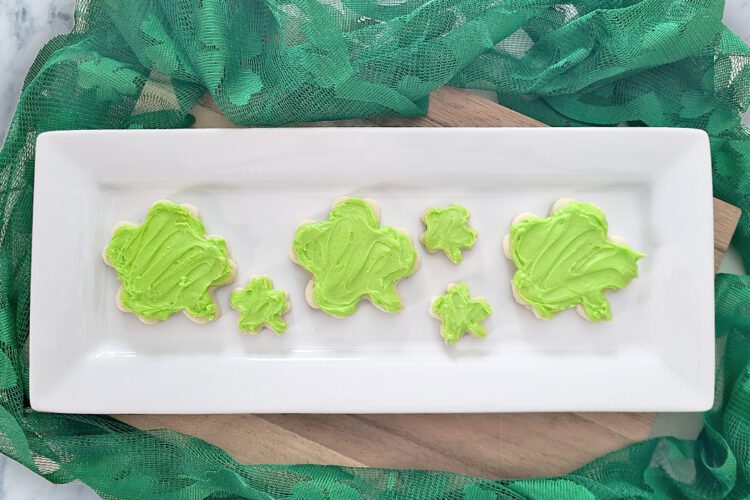


[…] I love making sugar cookies and using this frosting to frost them. It took me awhile to get my gluten free sugar cookie recipe just right. So if you need a recipe, you can find it here. […]
[…] my own recipe! It rolls out perfectly and tastes so good! You can find my gf sugar cookie recipe here. I use my blend of gf all purpose flour which creates the flavor of the cookie. You can use […]