When the leaves start changing and there is a crisp, cool feeling in the air when I wake up each morning, I start to think of foods that are warm and comforting. Homemade caramel always comes to my mind when thinking specifically about Fall desserts. I want to share with you 3 Fall Dessert Ideas with Homemade Caramel that will warm anyone’s heart this Fall.
Caramel Apple Charcuterie Board
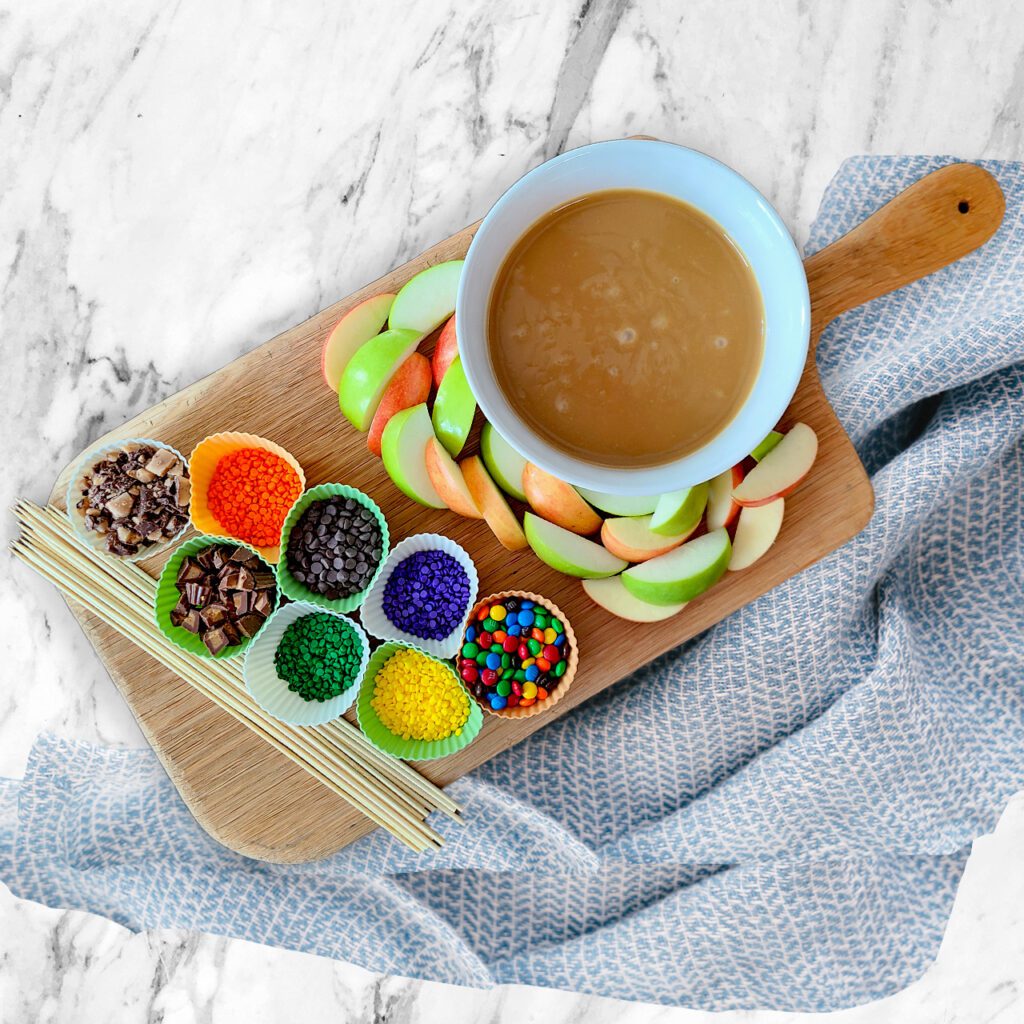
Making a caramel apple charcuterie board is very easy to come together. I love desserts that I can prep ahead of party time and just throw together right before and it will look amazing. When you know the “secret” to keep your apples from browning, you can even prep the apples 15+ hrs ahead of time.
The secret is to prepare a sea salt/water solution. For every 1 cup of water, add 1 tsp of sea salt. Dissolve the sea salt, then start slicing your apples and placing them in the solution. You will want to keep the apples in this solution fully covered for about 10 minutes. Then I just pat them dry with a towel and place in a freezer safe plastic zippered bag(I am not placing them in the freezer, I just like a thicker plastic bag for these as it keeps more air out). If you don’t dry them off, you will taste the salt just a little bit, so take the time to gently dry the apple slices.
Making homemade caramel sauce may sound difficult, but it comes together in about 15 minutes and my recipe is “the best”. If you are prepping this ahead of time, make sure to let the caramel sauce cools COMPLETELY before storing it in the fridge. If there is even a little bit of heat left in the caramel, then you will get condensation and we don’t want that. I prefer storing it in a glass mason jar, but feel free to store how you like. When you store it in a glass container in smaller serving amounts(such as 1 cup or 2 cups amounts), this allows you to pop it in the microwave to warm for whatever dessert you might need like my Carmelitas or Caramel Apple Streusel Cheesecake Bars.
Gathering toppings for the charcuterie board is fun because it can be whatever your family likes. When thinking of gluten free candy options, our favorites are chopping up Hershey bars, Reeses PB Cups, Skor Bars, and Andes Mints. Sprinkles have endless shapes and color options. Just make sure to READ THE LABEL. Even sprinkles can have gluten or be make in a places that processes gluten. If you don’t have family members with nut allergies, you can also add chopped nuts to your board. I like to put all my toppings in silicone muffin liners. You can get them in so many colors that it’s easy to find a set that coordinates with your color theme of decor for your event/party.
And lastly, you will need some wooden or metal skewers. I like the wooden ones as I mostly have kids at events and somehow, the metal ones make me afraid someone will get their eye poked out. ha-ha! The wooden ones I linked to are from Walmart and made of Bamboo.
This is a great dessert to get your kids involved in bringing everything together. Sometimes we have desserts that are complicated and letting our kids “help” can be a challenge. Kids can help pour ingredients into the muffin cups and help put the apples slices all around, while you pour in the hot caramel into a dish.
The BONUS is that kids will feel really proud of their creation they got to do with Mom or Dad. Being creative around food brings joy. And when we let our kids experience the joy of preparing and later serving their creation to people they love, it gets them excited to do it again. And for kids with celiac, they are going to be prepping a lot of food in their lives, so creating joy around food is important.
Golden Caramel Brownie Pumpkin Bites
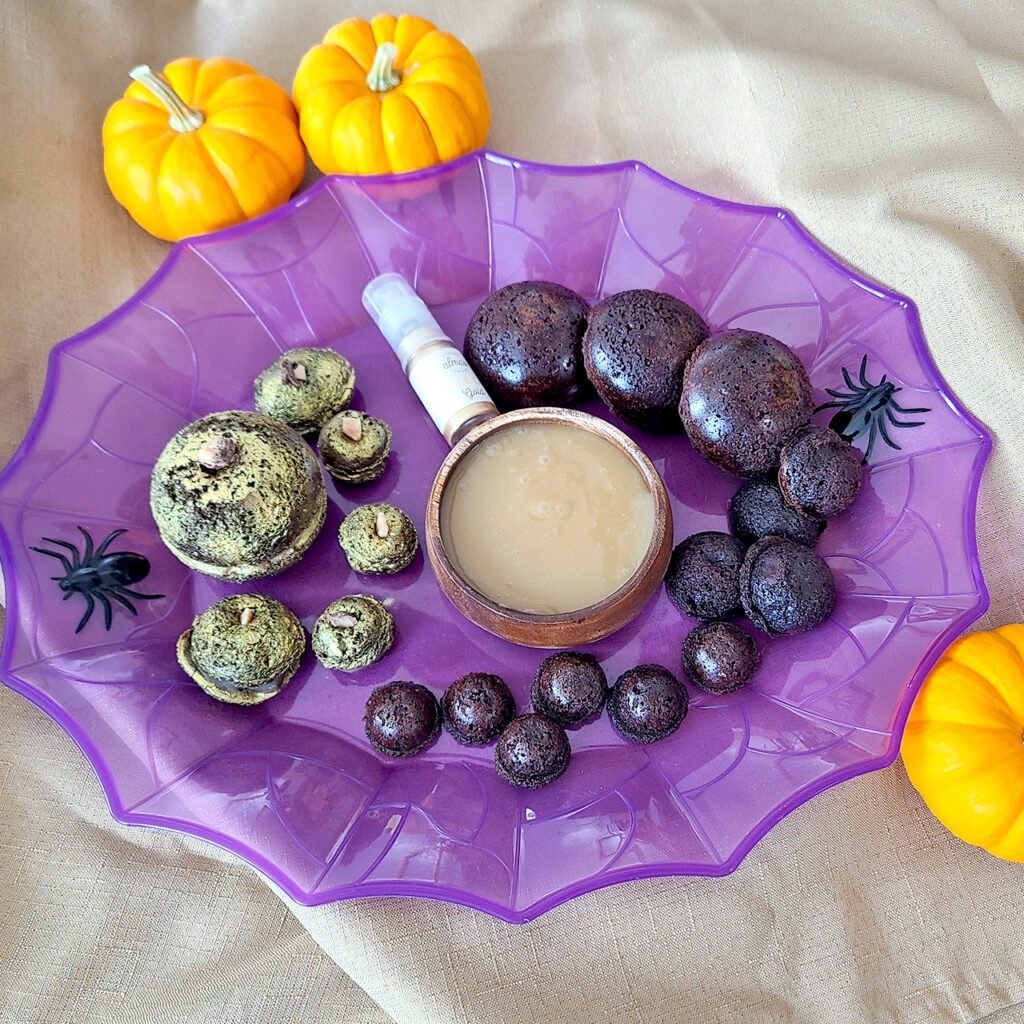
For this dessert, you will need a gluten free brownie box mix. I prefer the Krusteaz Gluten Free Brownie Mix. I make the recipe according to the package EXCEPT for the oil, I use refined coconut oil. In my opinion, it really helps with the texture of the brownies. So I melt 1/3 cup of that for the oil.
You will need a dome-shaped silicone mold for this recipe and then use two domes to create your pumpkin shape. I used three different mold sizes. I was able to place two of them on a baking sheet to give them stability while baking at a time. If you are using the very small dome shape, bake them at 325 degrees for 25 minutes; medium size for 30-35, and large size for 40-45 minutes. As you can see by the bake times, this dessert will take a bit more effort to pull off.
DO NOT underbake these. They won’t have the structure to stay in a ball shape-trust me I have done this. Each oven is different, and with gluten free brownies they still appear quite soft when done. When in doubt, cook them 5 minutes longer.
These must cool IN THE MOLD until completely cooled. Then place them in the FREEZER for at least 10 minutes before trying to take them out of the mold. You absolutely cannot get them out in a dome shape unless you freeze them.
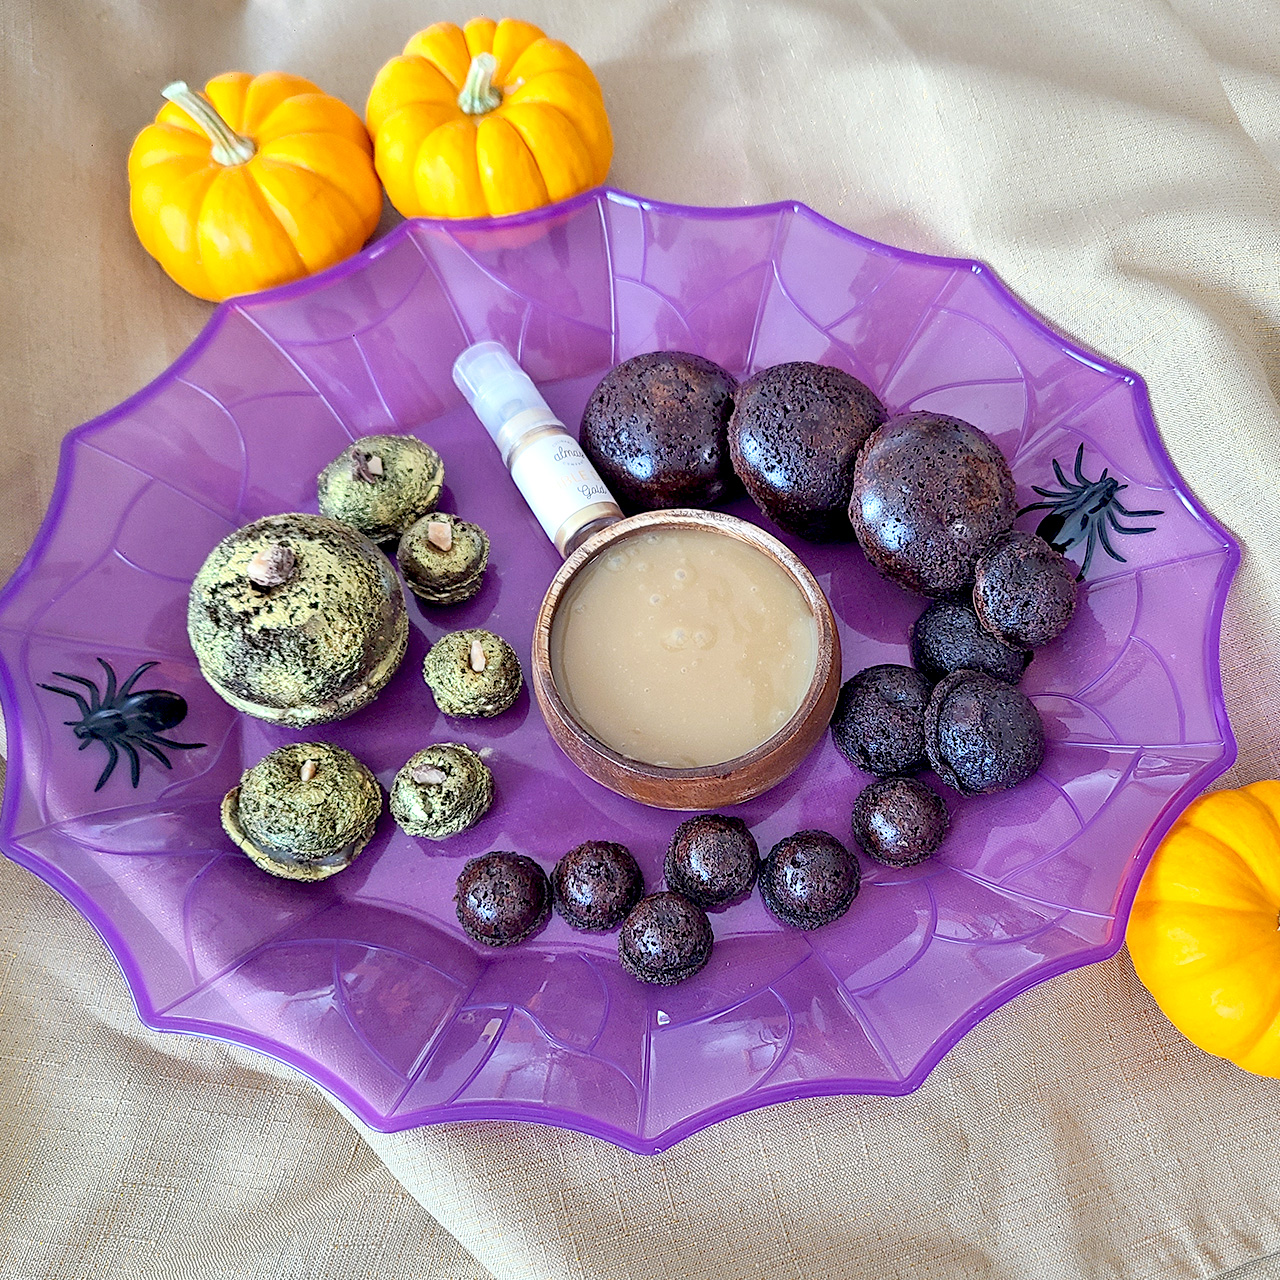
Once removed from the mold, you can put a bit of caramel sauce on the flat side of the dome, then place another dome against it. Place on a paper towel or another surface that you don’t mind getting covered with edible gold dust. I bought Alma’s edible gold dust at Walmart. This is where it gets fun!
I would do this with your guest or kids for an activity. It is SO MUCH FUN to spray the gold dust on the brownie! I can’t even tell you how fun this is! Simply spray around the ball-shaped brownie until it is coated to your liking. I did pick up the ball in order to get gold dust on every side. Place a broken up piece of a Skor bar or gluten free pretzel, etc, and GENTLY place it for the stem of the pumpkin.
TIP: I would keep the brownie bites frozen until 20 minutes before you are going to do this activity. If you are just serving them, and not using this as an activity- I would place them back in the freezer until 20-30 minutes before serving, depending on how long they had been in the freezer. These are much better served cold. Because these are brownies, they will soften back up as they come to room temperature.
Golden Caramel Brownie Pumpkins
Ingredients
Equipment
Method
- Make the brownie batter according to the directions.
- Place silicone molds on top of a baking sheet. Pour into dome-shaped silicone molds of your choice using a cookie scoop or spoon. Bake at 325 degrees. For the tiny smallest size dome-size, bake for 25 minutes; medium size bake for 30-35 minutes; large size bake for 40-45 minutes.
- Let cool completely IN THE MOLD. Then place in the freezer for at least 10 minutes. Only then, try and gently remove the brownie domes and place on a cooling rack.
- Warm your caramel to just barely warmer than room temperature. We don't want it hot, just warm enough to spread a dollup onto the flat side of one dome. Then find another dome of similar size and gently press together.
- Set these formed "pumpkins" onto a paper towel or another surface that you don't mind getting the edible gold dust all over. Spray the brownie pumpkins as desired.
- You can serve these immediately or if you aren't serving immediately, keep them in a glass container or another sealed container until you are ready to serve. These will soften to a normal brownie softness as the come to room temperature and can lose their shape.
- You can make these up to 1 day ahead of time. But if you want them for an activity for kids to add the gold dust, I would either keep them in the fridge until you are ready to do the activity, or if keeping in the freezer, remove 30 minutes before doing the activity.
Caramel Apple in a Bag
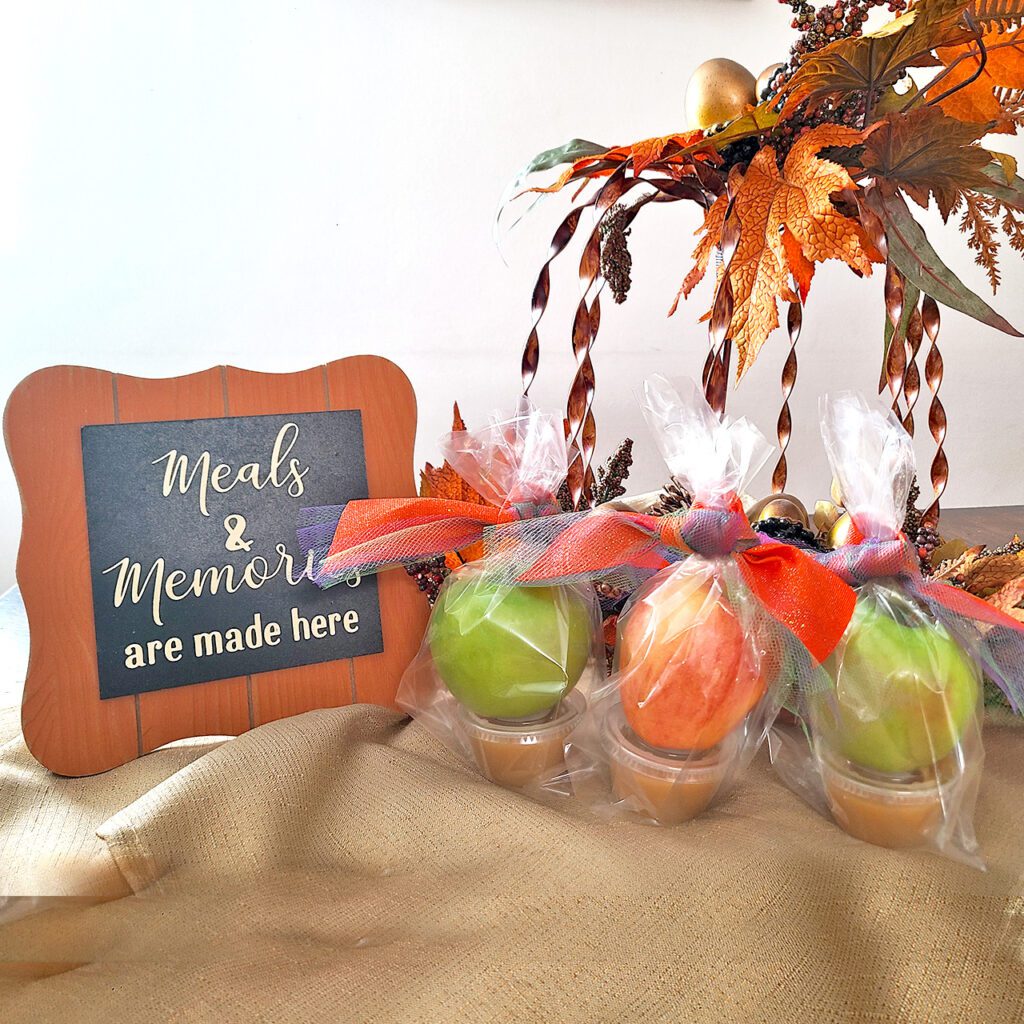
Sometimes it’s good to drop a surprise off to a friend, neighbor, or family member out of the blue. Or maybe you are looking for an easy gift to bring for your co-workers. Caramel Apple in a Bag is sure to delight in any occasion!
You will need a cellophane bag and ribbon/tulle for packaging. You will need some 2 oz plastic cups with lids for the caramel, and then apples of your choice. If you want to add another cup with toppings, you could also do that, but I like the look of just one cup and an apple for simplicity.
I hope you enjoyed these 3 Fall Dessert Ideas with Homemade Caramel. I hope that these desserts will help you gather family, friends, or co-workers and create memories.
Much love,
Emma


[…] This is the best homemade caramel sauce recipe you will ever make. This recipe is versatile too. Great for ice cream topping, caramel popcorn balls, you can use it in other dessert recipes, for dipping apples/bananas/pretzels in, and on and on. If you need some great Fall ideas, check out my post here. […]