Gluten free waffle cones were seriously one of the things I missed the most when we went gluten free. I don’t know why, but I really, really love waffle cones. Then I found out that some wonderful people make waffle cone makers! And I decided I needed one.
That was my Mother’s Day gift this year. And I am happy to say that I have been able to alter a gluten recipe to be gluten free and it still works! And anyone who has tried to bake or cook with gluten free flour knows that is an achievement to celebrate.
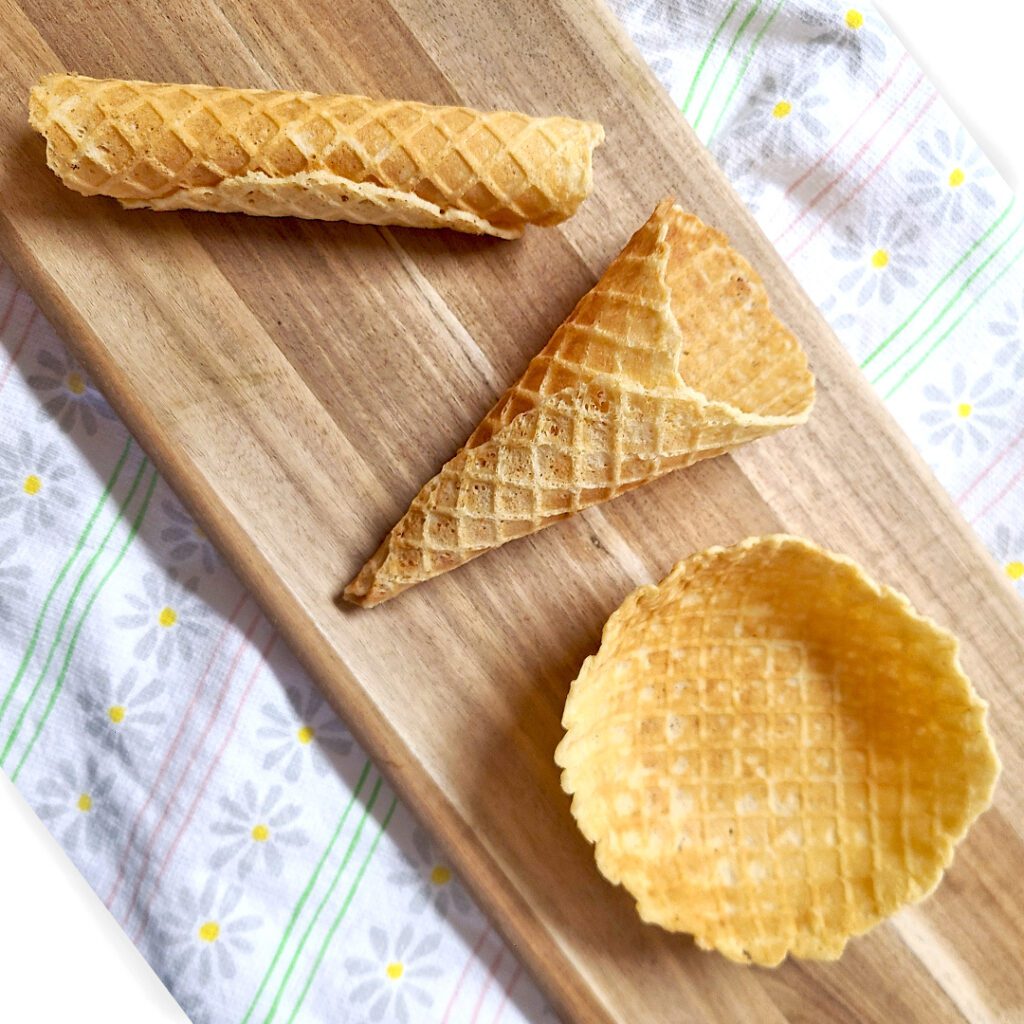
The waffle maker I got was this one by Proctor Silex. It comes with a tool to make cones and bowls. For the cannoli shape, I just used a wooden spoon to wrap my hot cone around. You form all these shapes when the waffle is VERY HOT coming right off the iron. But you can use a paper towel, or some clean gloves if the heat bothers your hands too much.
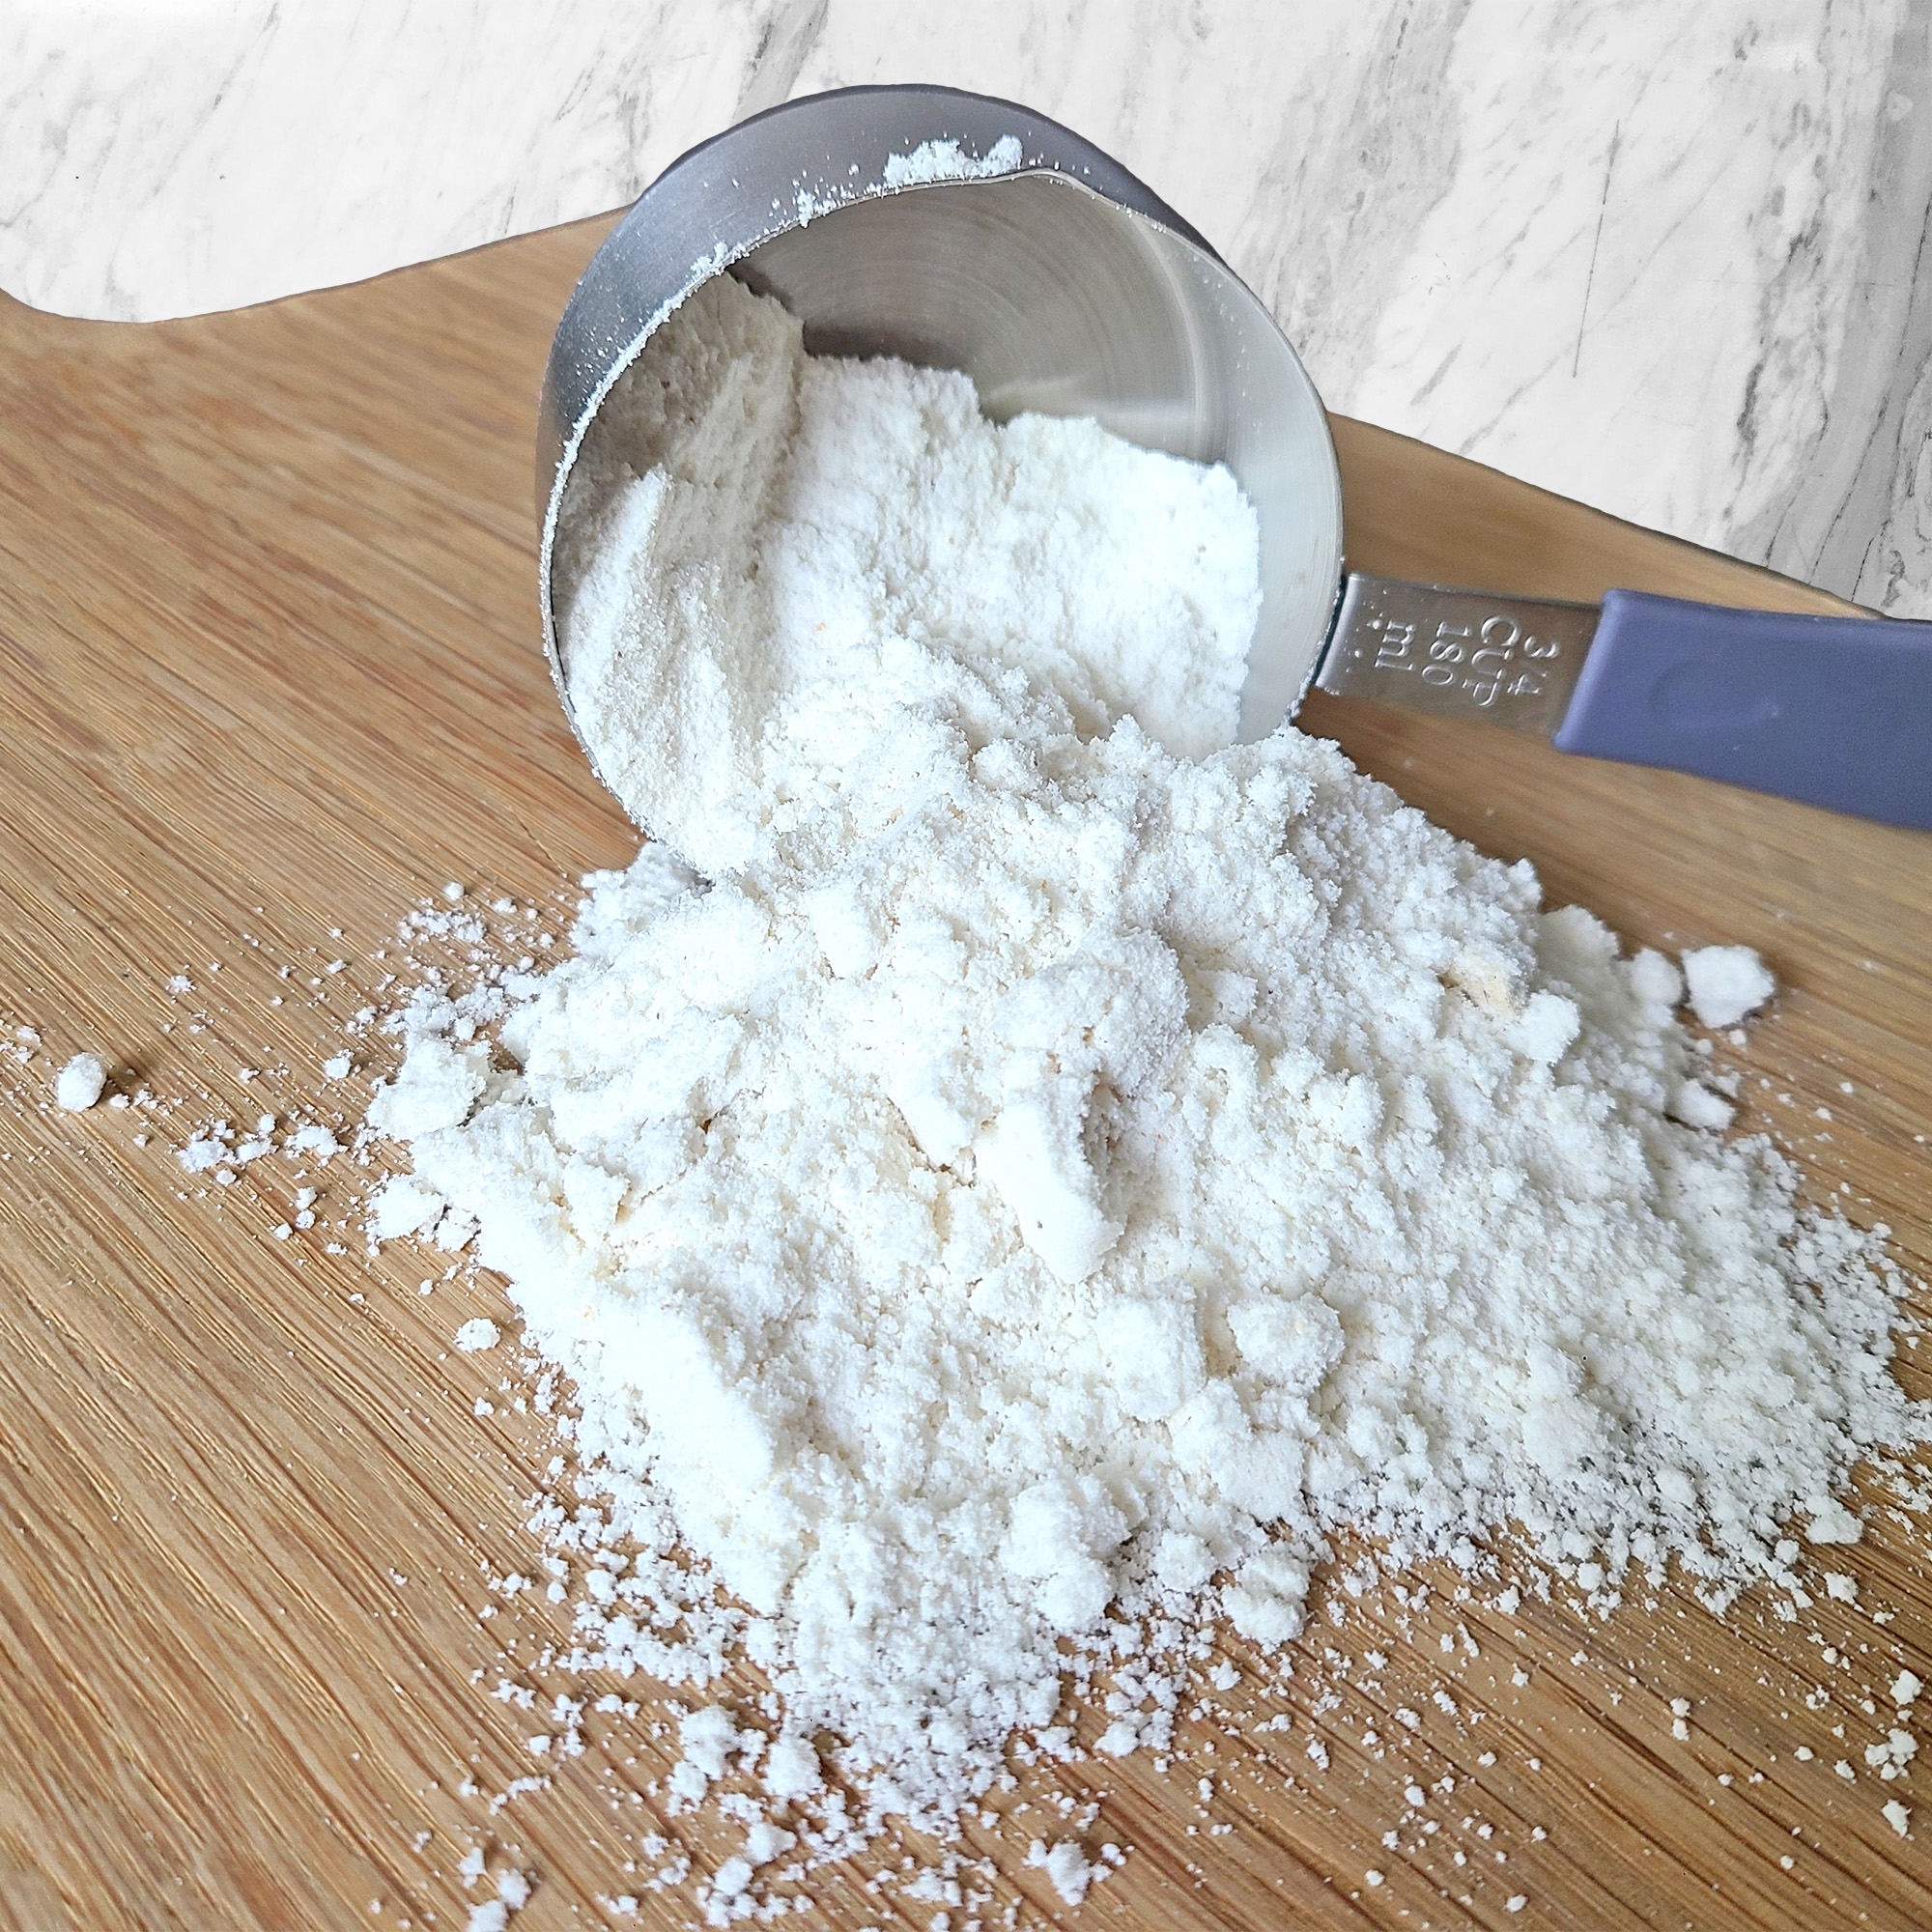
I use my all purpose gluten free flour blend for this recipe. Feel free to try your favorite blend. You can check out what I use in my blend and see if yours is similar. I also use xanthan gum to help this recipe work.

Gluten Free Waffle Cones
Equipment
- 1 waffle cone iron make sure you use a waffle cone iron- this is NOT a regular waffle iron
- cone shape tool, bowl shape tool
- medium bowl
- spoons, measuring cups, measuring spoons, whisk, spatula
- parchment paper
Ingredients
- 2/3 C gluten free all purpose flour blend I use mine on this blog
- 1/4 tsp xanthan gum
- 1/4 tsp sea salt
- 1/4 C granulated sugar
- 1/4 C brown sugar
- 2 large eggs
- 1/4 C whole milk
- 1/4 C unsalted butter, melted
- 1 TBSP vanilla
Instructions
- Preheat the waffle cone iron. Heat to medium or what temperature your iron specifies.
- In a medium bowl, pour gluten free flour, xanthan gum, sea salt, granulated sugar, and brown sugar. Mix well with a wire whisk.
- Add eggs, milk, melted butter, and vanilla and whisk until ingredients are blended.
- Spray or lightly grease the iron before making your first waffle-repeat if necessary as you continue to cook more. Using a medium cookie scoop(about 2 TBSP), scoop the batter and pour in the center of the iron. Close the lid carefully. And let cook 2-3 minutes.
- When waffle is a medium brown color in the center, remove the waffle carefully with the cone shaped tool. Transfer to parchment paper and QUICKLY shape your cone. Make sure you pay attention to forming the bottom of your cone so there is not a hole at the bottom.
- Let the waffle cool in the cone tool for about 2 minutes while it’s resting on the parchment paper. Then remove the cone shape tool and let the waffle cone continue to cool on the parchment paper.
- Store completely cooled cones in an air-tight container for up to 5 days.
Notes
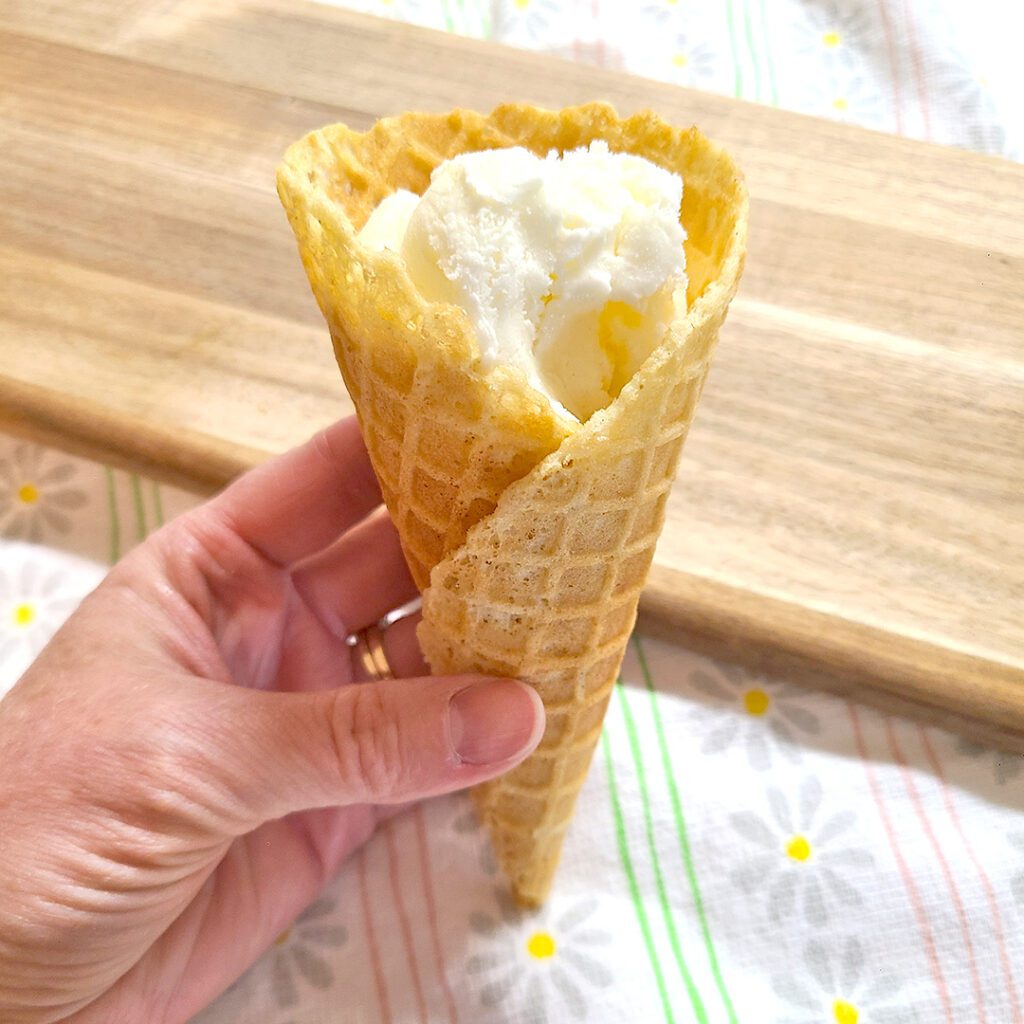
I hope you have so much fun making gluten free waffle cones. I absolutely love doing this. It is magical to me every time I roll a cone and it just holds its shape. I find it facinating!
If you need some ice cream recipes, try my vanilla, strawberry, or mint Oreo, all gluten free of course! And if you want my favorite ice cream maker, choose this Whynter model.
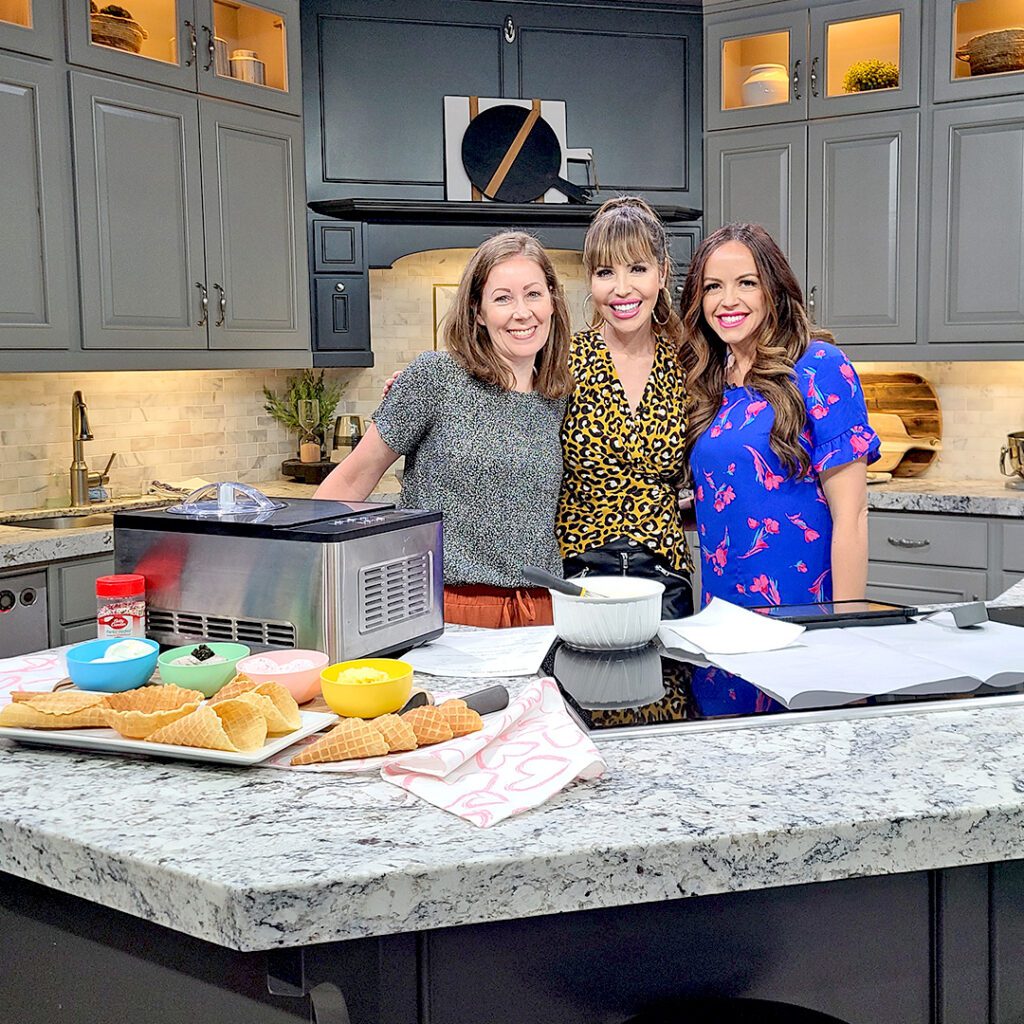
And you can watch me talk about these three ice cream flavors plus my pineapple sorbet on Good Things Utah. I also demo these gluten free waffle cones on this same link, just scroll down a bit for the second video.
Emma



[…] can watch me talk about my favorite ice cream flavors and my gluten free waffle cones on Good Things […]
[…] You can watch me talk all about making ice cream, sorbet, and gluten free waffle cones on Good Things […]