It’s been about 2.5 years since three of my kids were diagnosed with celiac disease. Gluten free bread was the hardest thing to get used to. We have found that most gluten free breads are “barely” tolerable. We eat it only when we have to. There is not really great excitement to eat gluten free bread. It’s heavy, dense, dry, and often has a strange “off” flavor to me.
If you ask my six year old about gf bread, she hates almost every kind of gluten free bread. The only store bought gf bread she’ll eat is Canyon Bakehouse Hawaiian Sweet Gluten Free Bread. But that is now $6+ dollars a loaf. So, I decided it was time to create something homemade that didn’t have all the additives, was nutritious, and would last a week on the counter.
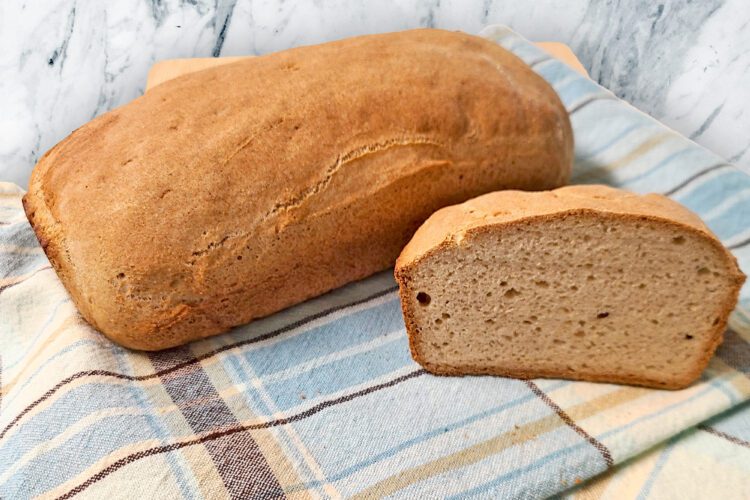
This gluten free bread loaf recipe is what I created after lots of trial and error. Yes, it is a normal gf loaf in the sense that it is small, it is dense compared to a “normal” white bread, and if you don’t bake it thoroughly & cool it completely, you can be left with that “wet” bread feeling. BUT if you follow my tips and use the exact ingredients, you are going to have a beautiful loaf of gf bread, that tastes good, lasts about a week on the counter, and can be made and baked in less than an hour and a half. You will need to let it cool for several hours… you can’t cheat on that though.
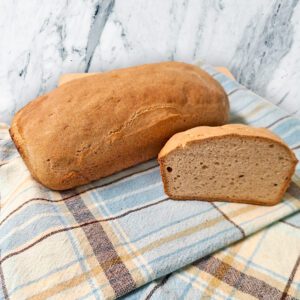
Emma’s Gluten Free Loaf Bread
Equipment
- 1 9" aluminum(light weight) non-stick loaf pan
- 1 Bosch mixer Or Kitchenaid
- 1 digital scale for weighing ingredients
- bowls
- measuring cups and spoons
Ingredients
- 100 g sorghum flour
- 100 g tapioca flour
- 30 g buckwheat flour
- 30 g almond flour
- 30 g potato flour NOT potato starch!
- 28 g psyillium husk POWDER
- 20 g tigernut flour
- 10 g SAF instant yeast
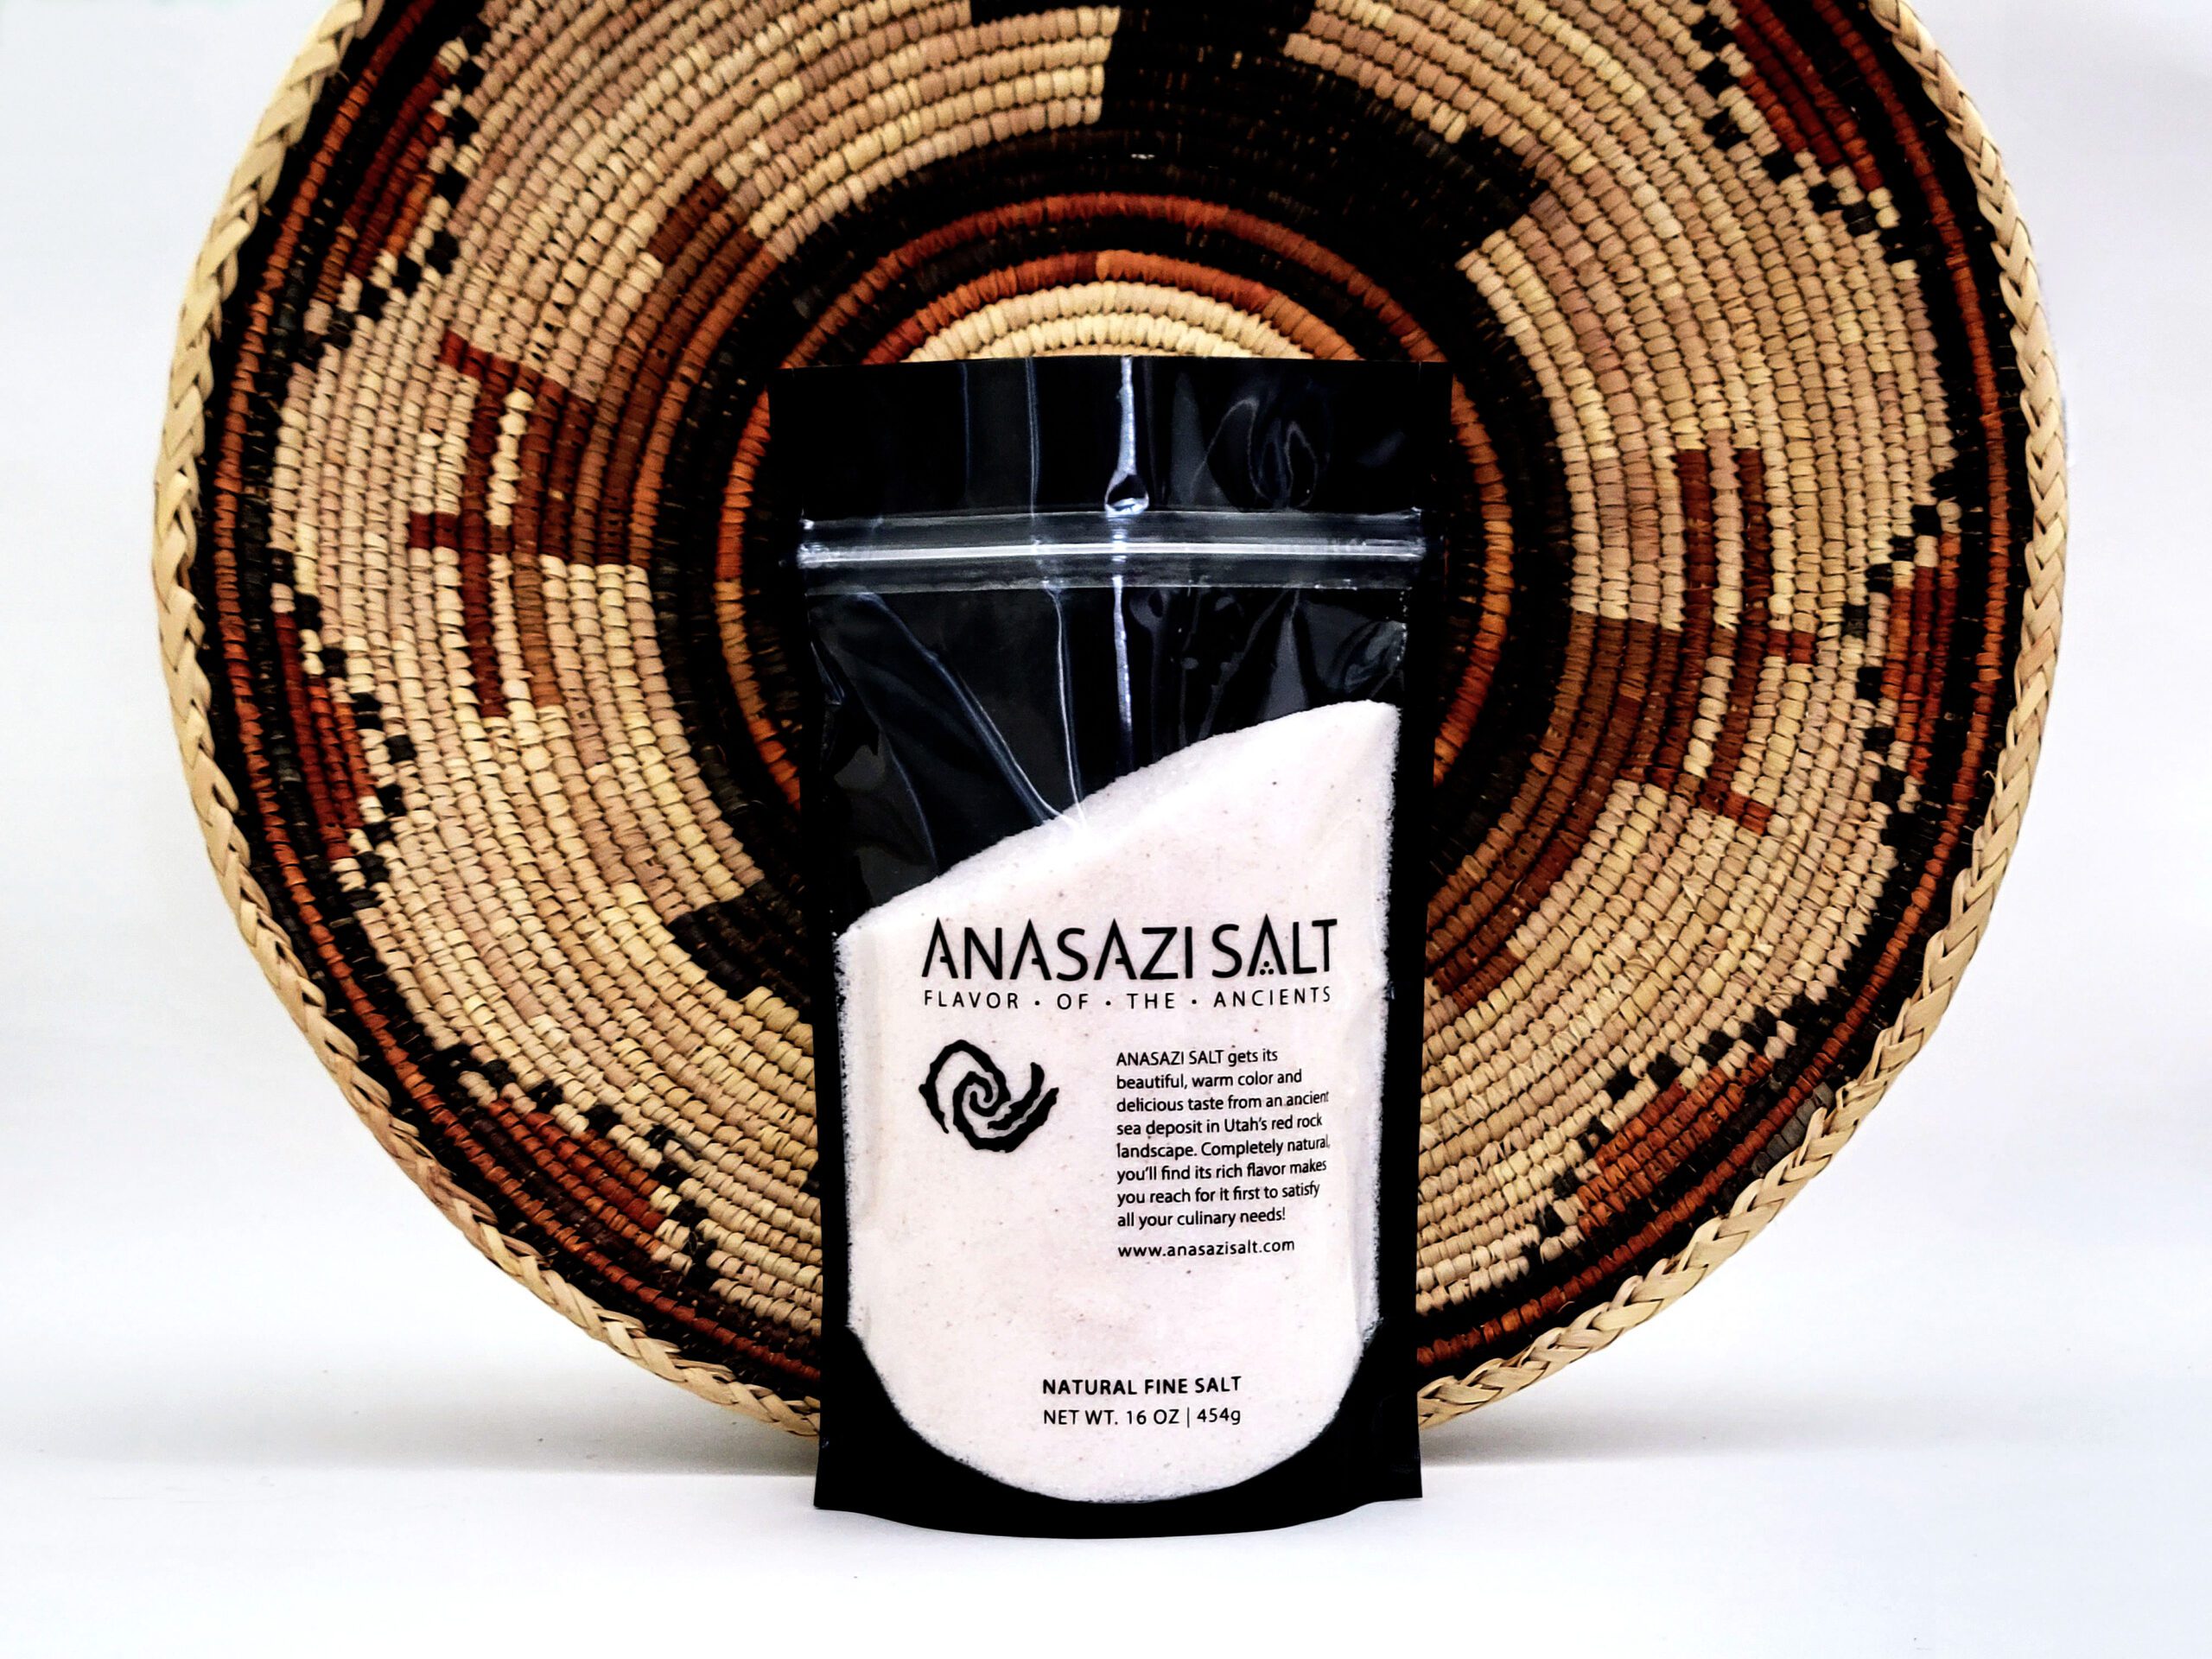
- 10 g sea salt
- 15 g raw honey
- 11 g robust olive oil you want more flavor than a light olive oil
- 1 tsp apple cider vinegar
- 290 g warm water you may need a little more of less depending on the humidity in your house, etc
Instructions
- If your kitchen isn't warm, heat up your oven and then turn it off. This creates a warm place for your bread to rise. Grease loaf pan with olive oil and set aside.
- Using a digital kitchen scale, measure all the dry ingredients(sorghum, tapioca, buckwheat, almond, potato, psyllium husk powder, and tigernut flours plus the instant yeast and sea salt) into a large bowl. Add to Bosch machine and using the cookie paddles, mix flours/dry ingredients well.
- In a separate small bowl, weigh the honey and olive oil. Add apple cider vinegar. Set bowl aside.
- In a glass measuring cup, weigh the water. Warm it up in the microwave for about 35 seconds on High.
- Add wet ingredients to the dry ingredients in the Bosch machine. The dough will be thick. It shouldn't be too wet, just a little tacky. This is one thing you will have to play with to see if you need to add a little more or a little less water. I often add about 280g and then add the rest or more if needed after the I mix the initial wet ingredients in. You only need to mix until all the ingredients are well mixed and the dough isn't sticking to the sides.
- Scoop dough into the prepared loaf pan and gently press dough into all the corners of the pan. Set in a warm space to rise. Cover with a damp tea towel. This should take about 15-20 minutes depending on how warm your kitchen is.
- While the dough is rising, pre-heat oven to 425 degrees. When dough has doubled, remove tea towel and place on the center rack of the oven. Bake for 35-40 minutes. Check the internal temperature of the bread. It should be about 203 degrees by now. Remove loaf from pan and continue to bake directly on the oven rack for 5 minutes. Check the internal temperature again. It should be 205 degrees.
- Remove bread to a cooling rack. Let cool completely.
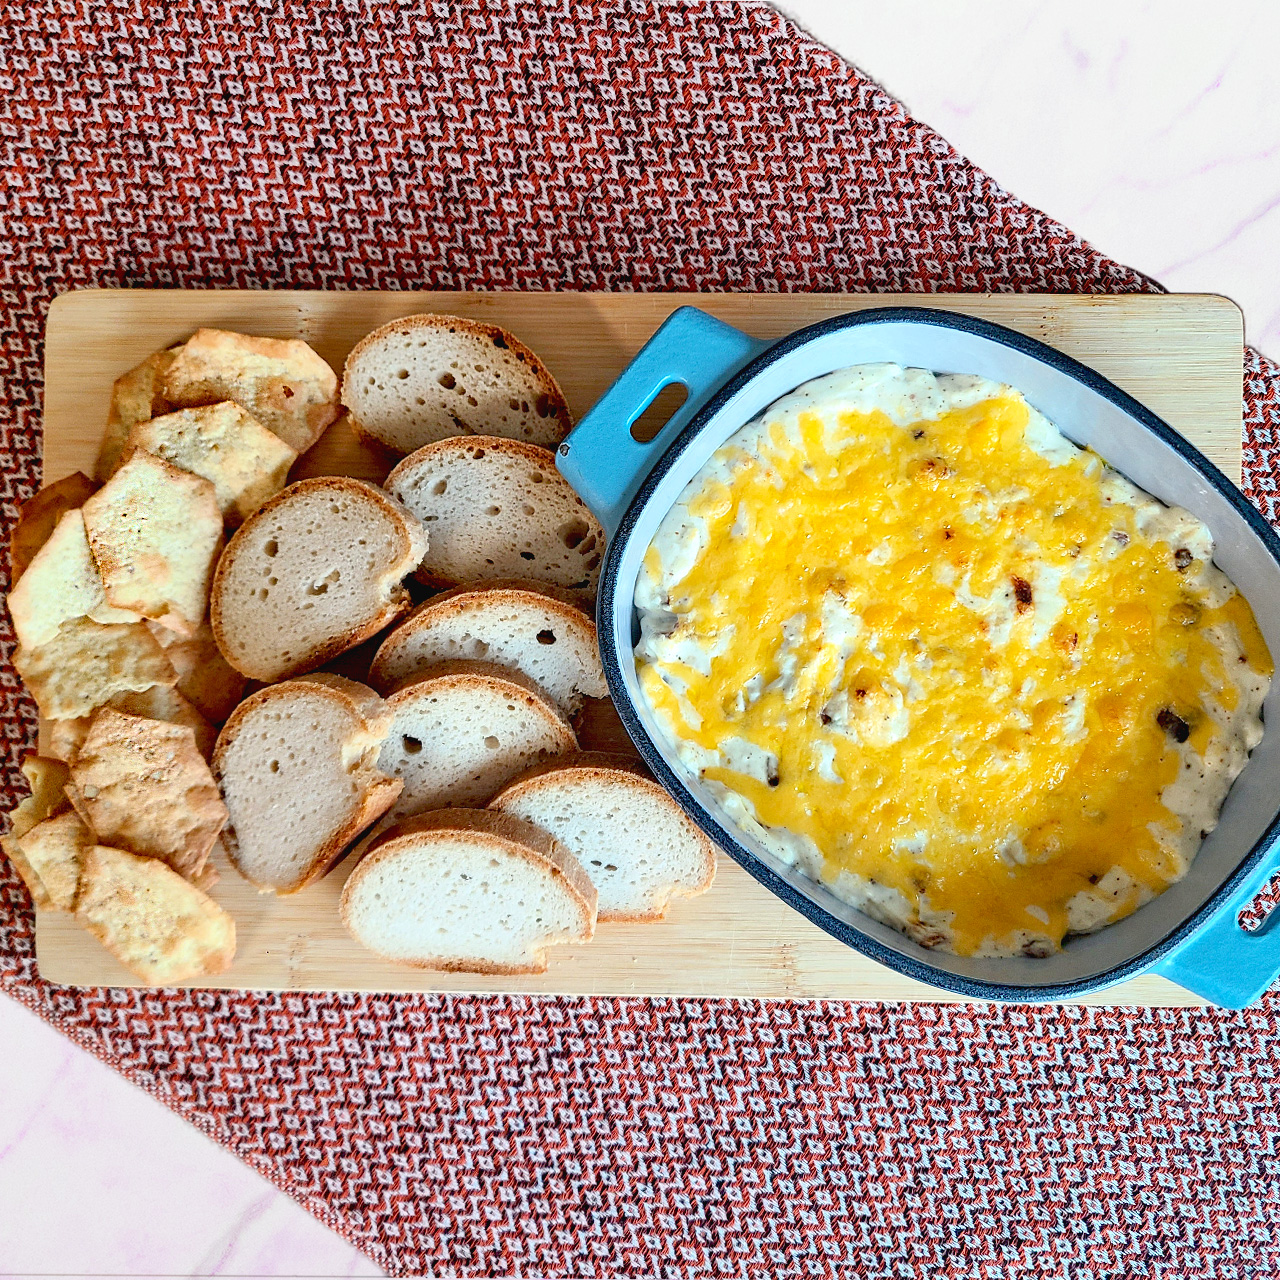
- This bread is perfect for sandwiches, toast, garlic toast, bread crumbs and more.
- In my dry Utah climate, this bread lasts on the counter for 5-7 days.
Most of my flours I purchase on Amazon. I LOVE Anthony’s brand. They are organic and batch tested so I feel confident they are gluten free and safe for my kids. They don’t have a potato flour, so I usually purchase Bob’s Red Mill for that.
I love that I can make bread that smells and tastes good. Eliminating the added ingredients you are stuck with when you purchase store bought gluten free bread makes me so happy! I still haven’t converted my six year old to homemade bread yet, but I think she’ll come around eventually.
Happy Baking my friends! And let me know if you try this recipe.
Emma
PS Do you need a hamburger bun recipe for all you summer BBQ’s, check out my recipe here.
