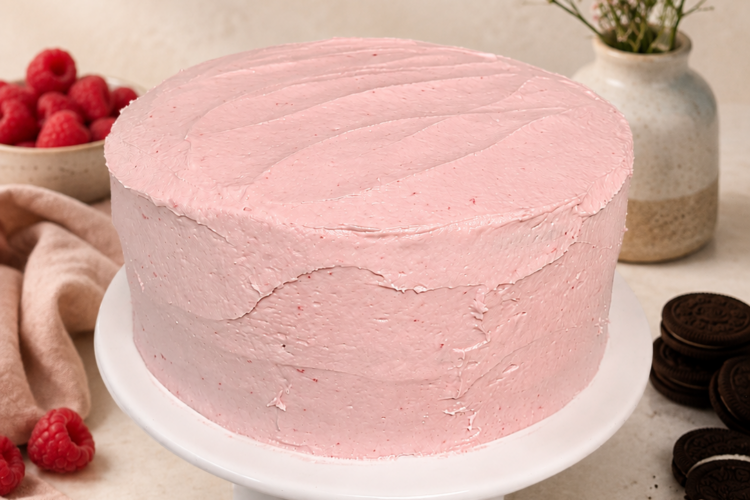
This gluten free Chocolate Layer Cake is moist and has just the right amount of dark cocoa powder that makes any chocolate lover smile. This cake recipe will make three layers. Any type of butter cream frosting will work for this cake. I will share a favorite version I like to pair with this chocolate cake recipe, but feel free to make this cake you own and get creative!
The right cake pans make a HUGE difference in how your cake layers will bake up. My favorite cake pans are very inexpensive, and you can find them on Amazon. They are stainless steel and they clean up so EASY! They are only $16 for the three pans. And I am of the opinion that having good quality cake pans will make your life easier.
Another thing that makes this recipe taste amazing, is the type of cocoa powder I use. My favorite brand for most of my gluten free flours is Anthony’s- and it is also my favorite brand for high quality cocoa powder. For this recipe, I use a Dark Cocoa Powder. You don’t need a lot of this rich cocoa powder to get the flavor you want. And it contributes the perfect coloring for this chocolate cake.
Using buttermilk is essential in so many gluten free baking recipes, and this one is no different. It gives the fat and acidity that we need to achieve the right texture and depth of flavor for this cake. I have found that it is a staple for my fridge since we went gluten free.
I use my dairy free-gluten free flour blend for this recipe. It is really the only blend I use anymore because I like to make a lot of thing dairy free too. I will put the recipe for this flour blend in the notes section of this recipe too. If you choose to use a different flour blend, it will not have the same results. That is one of the hardest things about being gluten free. Each flour blend behave very differently in baking. Making your own blend takes a bit of effort, but to me, it makes such a difference in my ability to adapt my flour blend to recipes that need more or less xanthan gum or psyllium husk, etc. I hope you will give my blend a try!
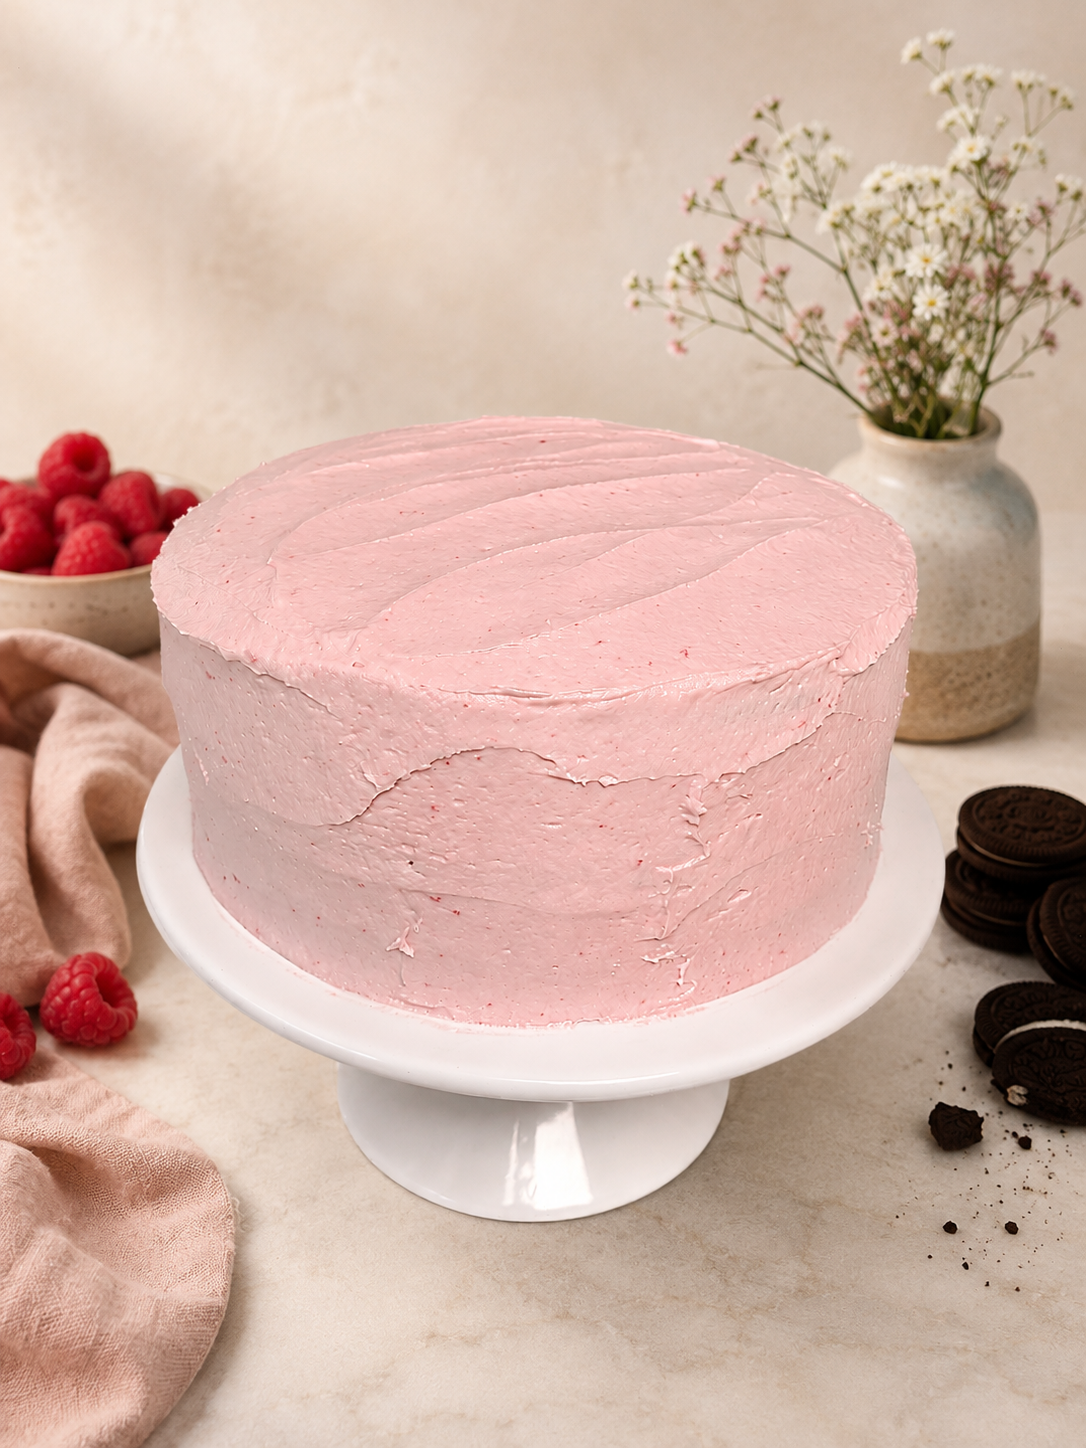
Gluten Free Chocolate Layer Cake
Ingredients
Equipment
Method
- Preheat oven to 325 degrees. Prepare the cake pans by very lightly oiling them with light olive oil. Trace the bottom of your pans on parchment paper and cut out the circles. Place the circles on the bottom of the pans and then lightly oil the top of the parchment paper. Set aside.
- In a large mixing bowl, add the gluten free flour, sugar, dark cocoa powder, baking soda, baking powder, xanthan gum, and sea salt. Mix well with a whisk.
- Then add the wet ingredients except the hot water. Add the buttermilk, oil, eggs, and vanilla and mix well with a hand mixer with beater attachments.
- In a microwave safe glass measuring cup, heat the water for 50 seconds in the microwave. Then slowly add it to the batter. Mix again with the hand mixer until it is well incorporated.
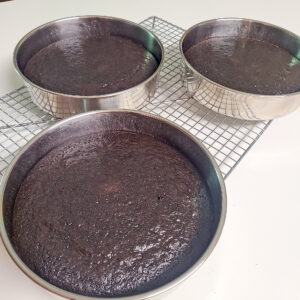
- Evenly pour the batter into the three cake pans. If you have a scale it will be close to 14oz of batter in each pan.
- Place all three cake pans in the oven on the middle rack and bake for 30 minutes or until a toothpick comes clean.

- When they are done baking, remove to a cooling rack for 15 minutes in the pans. Then after 15 minutes, carefully loosen the cake from the pans with a thin spatula or knife. And then, I like to use a cutting board to help me flip the cake out and then back onto the cooling rack. Let cakes cool completely.
- While the cakes are baking and cooling, make your raspberry puree. In a small saucepan, add all the puree ingredients: frozen raspberries, sugar, and cornstarch, and mix well. Over medium heat, cook until it comes to a boil, stirring constantly. Boil for 1 minute only. Then using a metal strainer, strain puree into a glass bowl. You are straining out all the seeds so that you are left with a beautiful smooth raspberry puree. If you want a stronger raspberry flavor and a darker pink color, you can double this recipe. You may need to add more powdered sugar to the butter cream to compensate for the extra moisture. Set aside and let cool
- Measure and then sift your powdered sugar into a large mixing bowl.
- In a Bosch mixer with the paddle attachments, add butter and mixing on speed 1 for 2 minutes.
- With the mixer on speed 1, slowly add the powdered sugar. Pause the mixer to scrape down the sides occassionally with a spatula.
- After the powdered sugar has been incorporated, add the heavy whipping cream one TBSP at a time while the mixer is still on speed 1.
- Turn the mixer on speed 2 for five minutes. Your buttercream will be so light and smooth after this.
- Divide buttercream into 1/3 and 2/3 portions in order to make the filling and the outside flavors.
- In a zip baggie, crush up 6 gluten free Oreos so that they are fine crumbs.
- Dump the Oreo crumbs into the 1/3 portion of filling and mix well.
- Divide this between the bottom and middle layers and then the middle and top layer.
- In a large mixing bowl, add the 2/3 of vanilla buttercream and the cooled raspberry puree. Mix well.
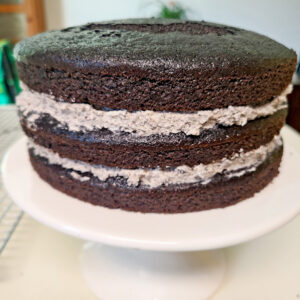
- Place the bottom layer of cake on a cake stand. Using an off-set spatula, place half of the Oreo filling on top. Then add the middle layer of cake, and put the other half of the Oreo filling on top of that. Then place the last layer of cake on top of that.
- Using an offset metal spatula, spread a thin layer of the raspberry butter cream around the sides and on the top. This will be your crumb coat.
- Place the cake in the fridge for about 20 minutes.
- Remove cake from the fridge and spread a second layer of the raspberry filling on the cake.
- Store the cake in the fridge until right before serving. This buttercream tastes the best when it is a little chilled.
- You can slice this cake and freeze it for up to 3 months.
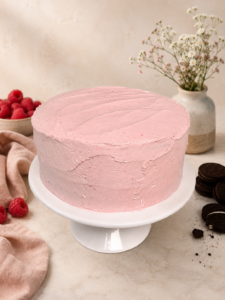
- You can really do an flavor you want to with this vanilla buttercream. You don't have to do two different flavors either. Feel free to make this your own!
I love making a delicious cake that makes people smile! This cake is dairy free- not the buttercream frosting, but the cake itself. So if you need a dairy free, gluten free cake recipe, this is a great one! Then you could use a dairy free frosting recipe, or whip up some dairy free coconut cream and top it with a fruit sauce and it would also be delicious!
Happy Baking!
Emma