Baking bread of any kind can feel overwhelming, difficult, and finicky. I am so excited to share this EASY gluten free dinner roll recipe. When you are just starting out making gluten free meals, finding simple recipes is the best way to feel sucessful.
A couple things to remember with most gluten free breads. One thing that surprised me with gluten free bread was that you often need a gallon of water to eat one sandwich. What? That was so crazy to me. Gluten free bread is often very dry and hard to swallow unless you take a drink of water right after you each bite.
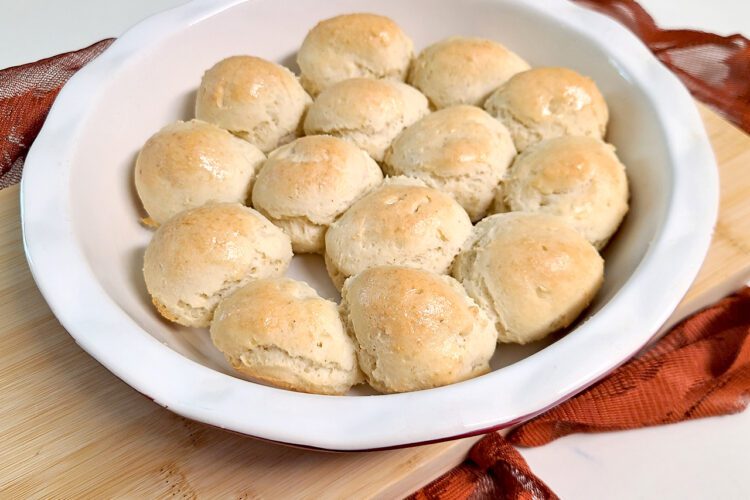
This roll recipe makes soft, delicious rolls and you won’t need all that water just to eat them. Plus you can even eat them WARM! Not kidding! It’s very true. And nothing is better than enjoying a hot roll with homemade golden plum jam
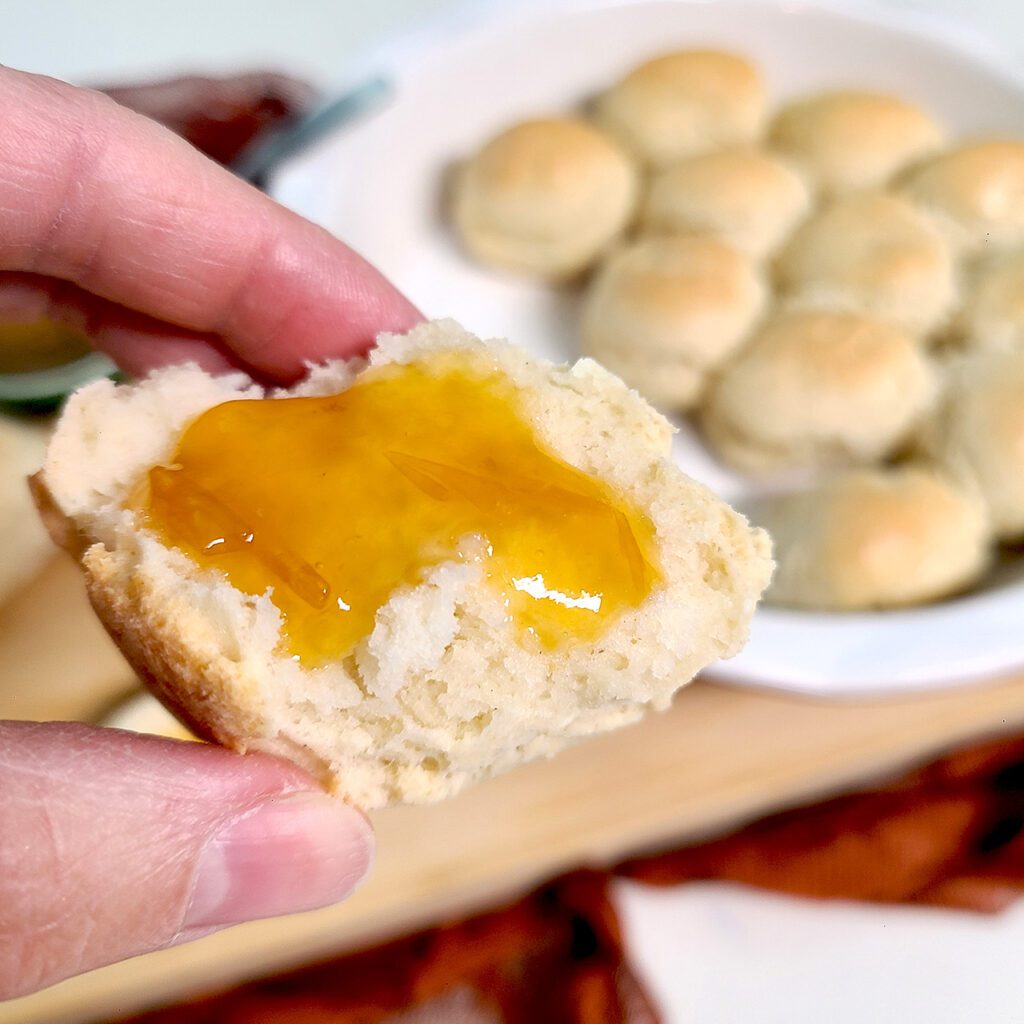
This recipe used my gluten free flour blend. After much trial and error, I have found that this blend helps a lot with these rolls not going stale the next day. If you are using a blend with brown rice flour, your rolls will not last as long.
If you have a small family, or it is just you eating gluten free, I would recommend freezing some of the rolls. After they have cooled completely, wrap them individually in plastic wrap, then place them in a freezer safe ziplock type bag. Then when you are ready to thaw them, thaw on a cookie cooling rack still in the plastic wrap.
I hope you enjoy making these rolls! They make my family happy.
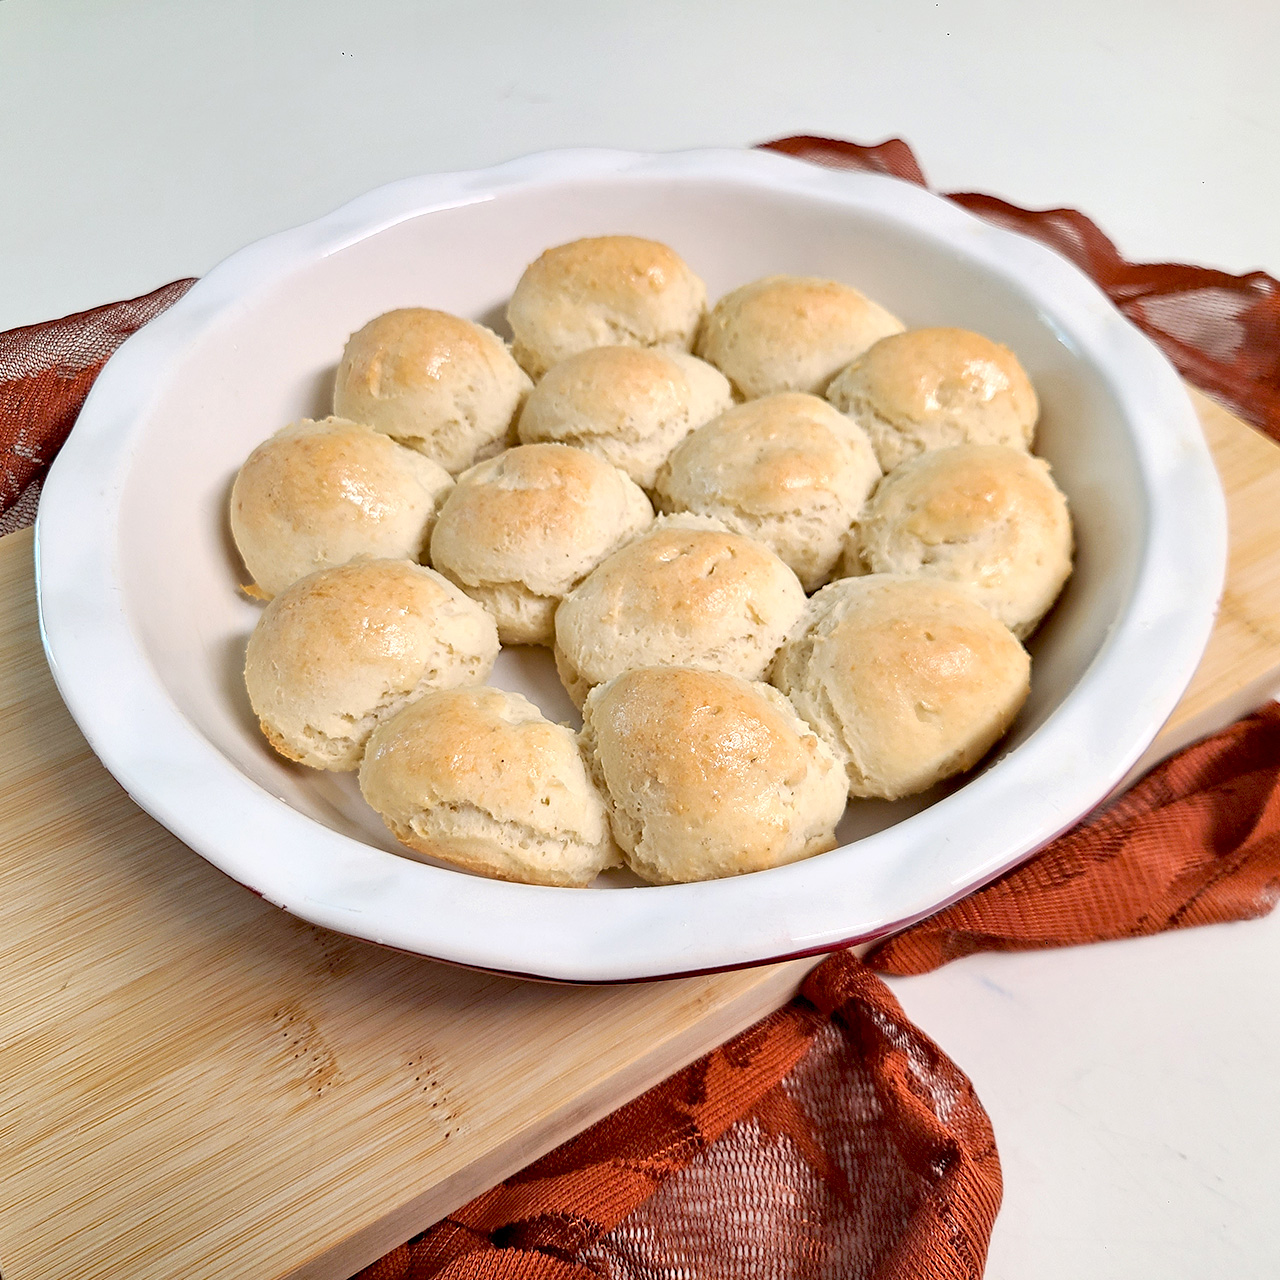
Gluten Free Dinner Rolls
Ingredients
Equipment
Method
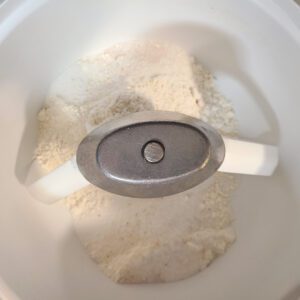
- Preheat oven to 200 degrees. As soon as it reaches temperature, turn the oven OFF. This is your proofing oven.Place all purpose flour, sorghum um flour, psyllium husk powder, xanthan gum, yeast, sugar, and sea salt in Bosch with paddles and mix well.

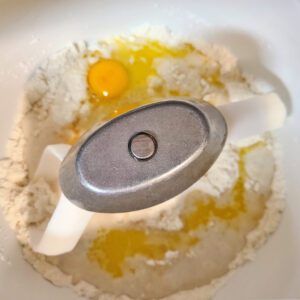
- In a separate microwave safe bowl or measuring cup, add water and chunks of butter. Microwave for about 40 seconds on high. Stir the butter a little bit to help finish melting. It doesn't need to be fully melted. Add the apple cider vinegar and pour into Bosch. Add egg.

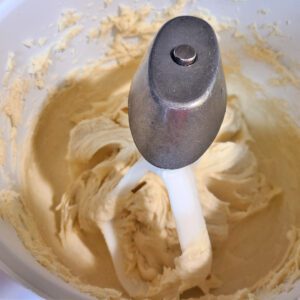
- Mix on speed 1 until combined. Pause and scrape down the sides. Turn up to speed 2 and mix for 1 1/2 minutes.

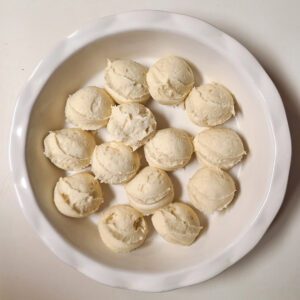
- Remove paddles and scrape down the sides. Using a large cookie scoop, place scoops of dough into a pie pan that has been lightly greased with butter. Get a little bowl and fill it with water. With your fingers, dip them in the water-just a little bit– and gently smooth the tops of the rolls.

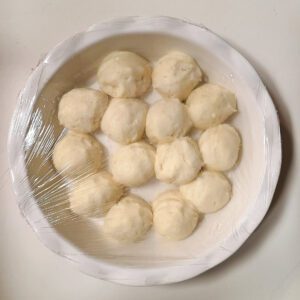
- Cover with plastic wrap, making sure the plastic wrap is not on the bottom of the pie plate. Place in proofing oven(your warmed oven from step one-make sure oven is OFF before placing rolls in) for 10 minutes.

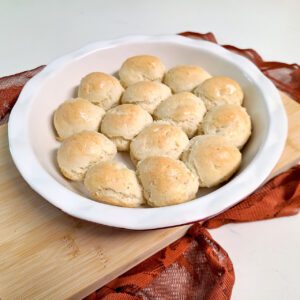
- If you have a second oven, like I do, heat it to 375 degrees while the rolls are proofing. If not, do that as soon as the proofing is done. When oven is ready, take off the plastic wrap and place in oven. Bake for 30-32 minutes or until top of rolls are lightly browned. Gluten free bread tends to take a bit of time to bake through, so make sure they feel "done" and are lightly browned. Rub a little bit of butter over the top of the rolls.

Do you need to take some to a friend or a family party? Then download this FREE giraffe sticker, print it on sticker paper, and then everyone can easily tell what rolls are gluten free.

Happy Baking my friends!
Emma
