I am finally ready to release my gluten free cinnamon roll recipe! It has been four years of attempting to make a gluten free version similar to what I made before. I know everyone has a different version of what they think the perfect cinnamon roll is, but for my family, this is it.
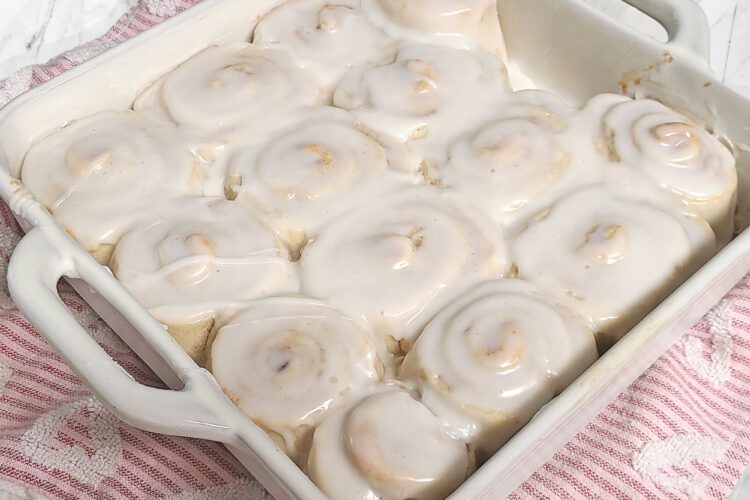
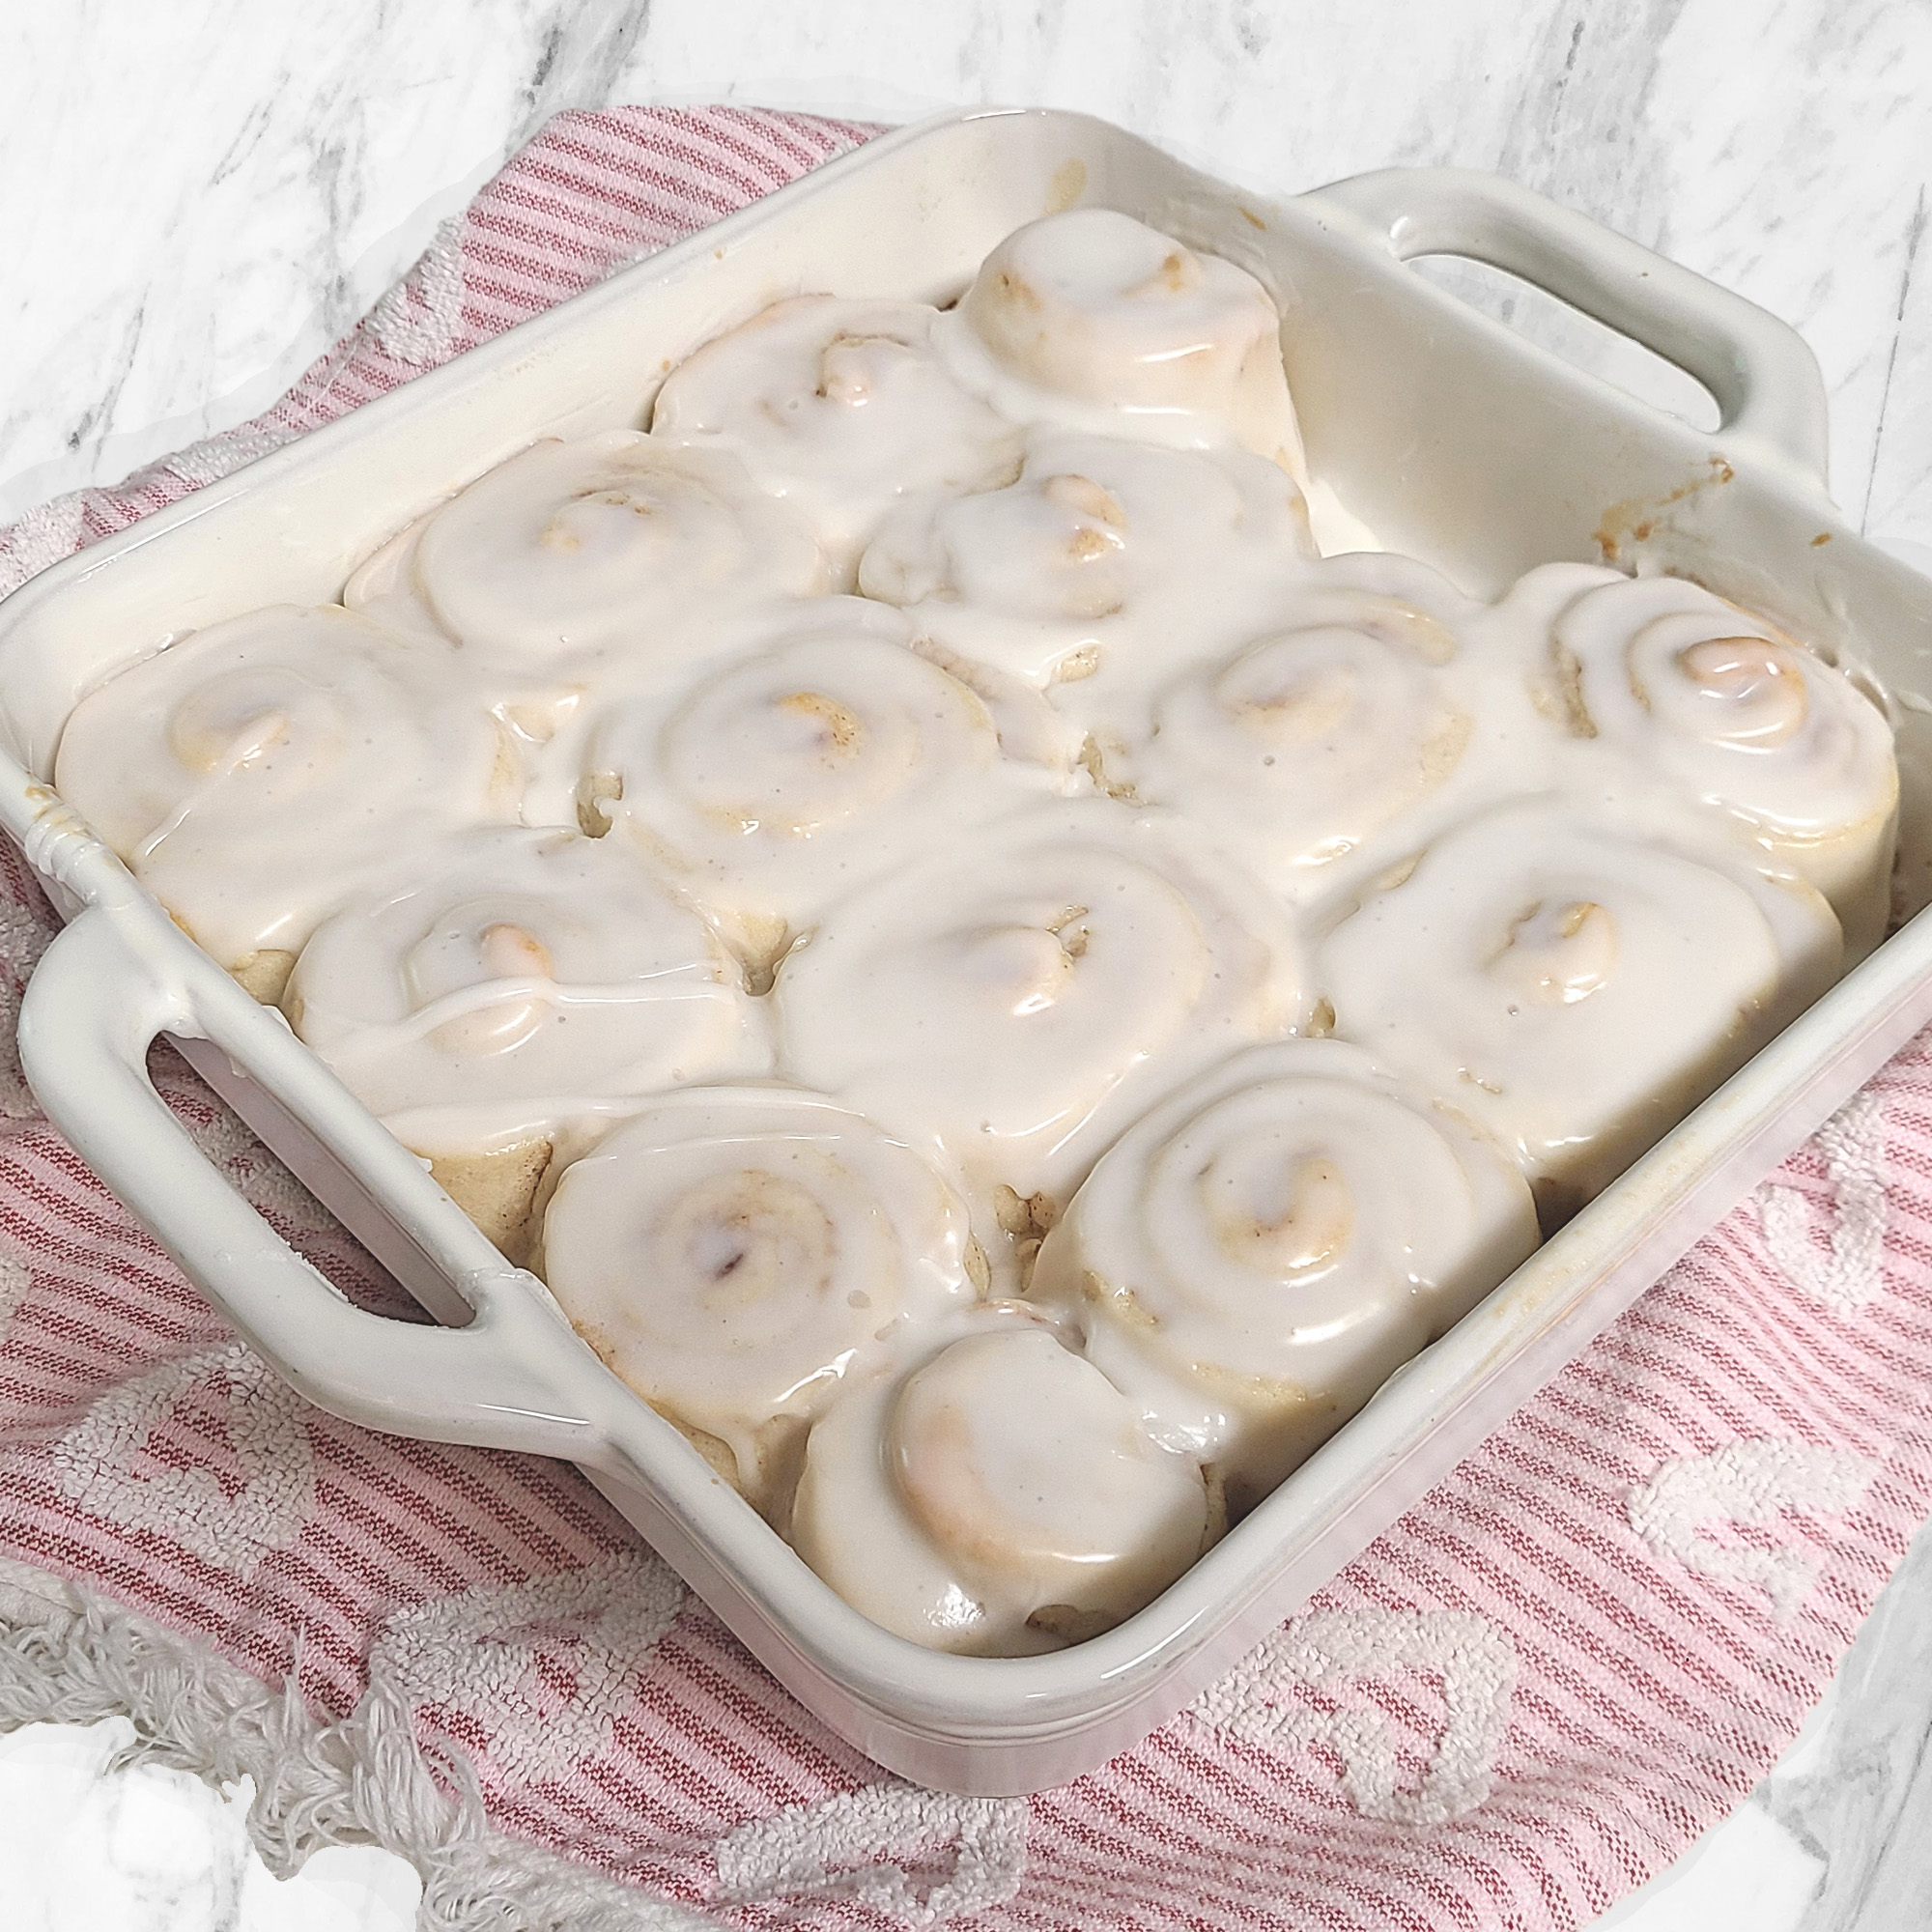
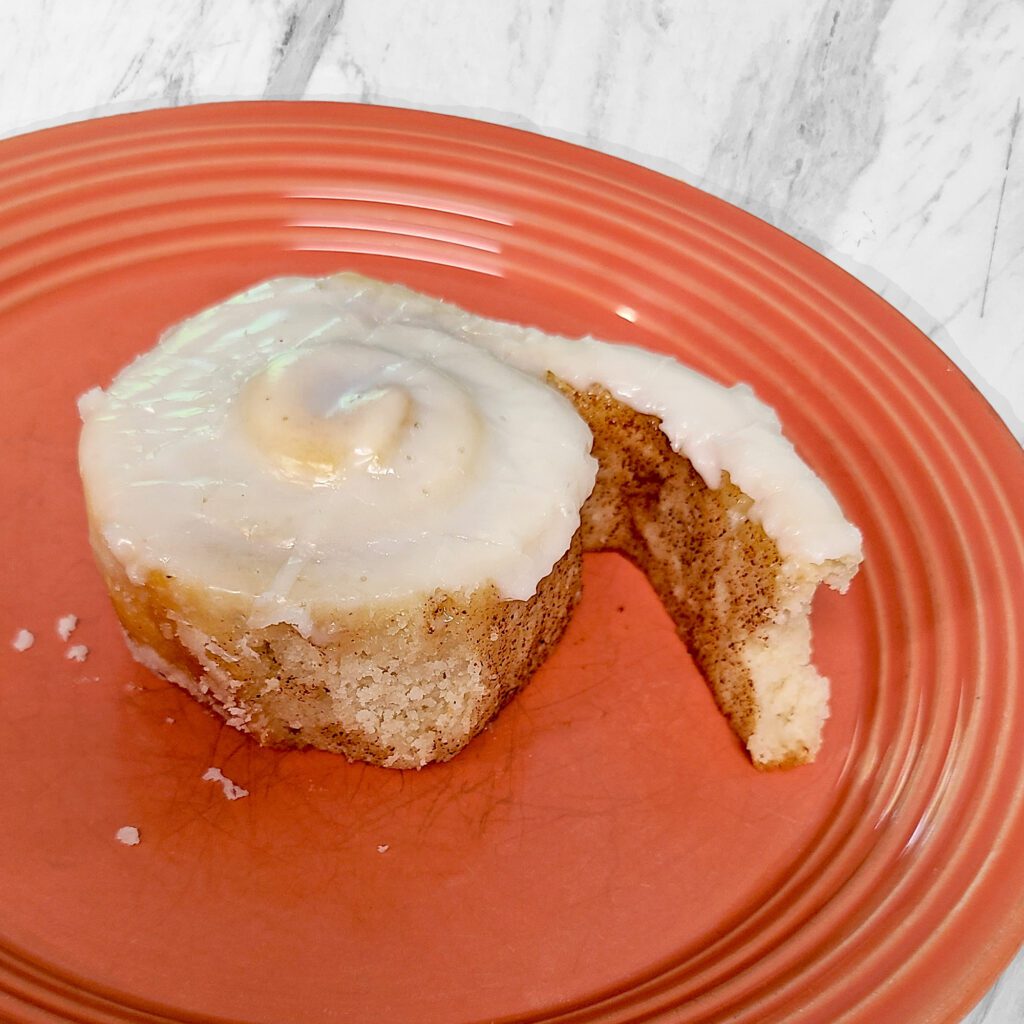
We also prefer to top our cinnamon rolls with icing instead of a cream cheese type frosting, but you certainly could use your favorite icing/frosting choice here.
This recipe was only tested with my df/gf flour blend. If you choose to try this with another blend, you will not get the same results. This recipe also calls for additional buckwheat and sorghum flour. They play an important roll in the flavor and texture of this recipe, so please don’t try and use something different and expect the same results.
The dough for this recipe rolls out like a dream and is not sticky or tacky. The psyllium husk powder helps a lot to achieve this great cohesiveness of the dough. Using a pizza slicer makes quick work out of shaping the rolls too.
I like to use SAF instant yeast in all my yeast baked desserts/breads. If you use a different yeast, your rise time and final product may be different.
And my last tip, is the pan matters! Coated ceramic dishes retain heat evenly much better than a glass dish will. I highly recommend having at least one of this type of baking dishes for gluten free baking.
Gluten Free Cinnamon Rolls
Ingredients
Equipment
Method
- Preheat proofing oven to 175 degrees. When it comes to temperature, turn off the oven.
- In a Bosch machine, add all the dry ingredients. Pulse to blend with the lid on. Then add the warmed milk, egg, softened butter, and softened refined coconut oil. Mix well on speed one. Scrape down the sides.
- Then mix on speed 2 for 2 minutes.
- Scrape out down onto a very lightly floured surface( I use my df/gf blend). Gently knead dough just enough to lightly coat it so that you can roll it out.
- Using a rolling pin, roll out dough into a 9×15( I never actually measure) rectangle.
- Baste the melted butter onto the dough.
- Generously sprinkle your cinnamon/sugar mixture over the butter.
- Using a pizza slicer, slice dough into 1 inch strips starting at the top of the long side and rolling it down to the bottom of the long side.(Imaging a flag laying flat and you're slicing from the top of the flag to the bottom–NOT side to side)
- Gently roll up each strip and place it into a coated ceramic baking dish. Once all strips are place in the dish, gently baste the tops with heavy whipping cream. Make sure to coat the tops well.
- Cover the baking dish with plastic wrap and place in proofing oven for 15-18 minutes or until doubled.
- Meanwhile, if you have a second oven, heat it to 375 degrees. If you do not have a second oven, let the rolls raise for 10-12 minutes in the proofing oven, then take them out to finish proofing on top of the oven while it heats to 375)
- Remove the plastic wrap.
- Bake at 375 degrees for 24 minutes(time may vary on different ovens) or until the tops are lightly browned.
- When you have about 5 minutes left on your bake time, start making the glaze.
- In a medium bowl, add the powdered sugar and milk. Add more of either to achieve the consistency you like. Add a splash of vanilla if you like.
- As soon as the cinnamon rolls come out of the oven, spread the icing on top of the rolls.
- Let cool at least 20 minutes before serving. But you can still enjoy these WARM! And they are so delicious!
Notes
I hope that you will enjoy making cinnamon rolls again after giving this recipe a try. It is one of my favorite things to make for my family when we have special occasions.
Much love,
Emma