Christmas and Easter always call for this recipe of Herb Roasted Turkey at my house. This recipe turns out perfect every.single.time. The meat is perfectly moist, and you will never taste a better flavor of gravy than with the flavor these drippings give.
I don’t know exactly where this recipe originated. I think my mother found this recipe in a magazine or newspaper article more than 30 years ago. The recipe has been bringing joy to my family for a long time. And I hope it will bring joy to your family as well.
I like to cook turkey breasts rather than a whole turkey. They are so much easier to work with. If I have a large crowd, I cook two turkey breasts in the same “turkey size” Reynolds oven bags. If I am feeding just my family, I will only cook one turkey breast. I still like to use the turkey size oven bag still for just one because you put a lot of veggies in with the turkey.
And remember you need to let your frozen turkey breast thaw in the fridge for 3-4 days. Then you need to take it out of the fridge at least 30 minutes before baking. This is important because you don’t want to put really cold meat straight into the oven. Having it at room temperature helps with the tenderness.
Herb Roasted Turkey
Ingredients
Equipment
Method
- Take thawed turkey out of the fridge while you prep the veggies. I like to keep it in the bag still, but in my kitchen sink.
- Preheat the oven to 350 degrees F.
- Gather a large roasting pan, and place the turkey size oven bag in it. Pour 1 TBSP gluten free all purpose flour blend into the bag and holding it closed, shake the bag. Place bag back into roasting pan.
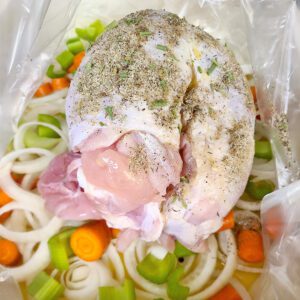
- Cut off outer skin of onions, and slice them into "rings". Place the onions in the bottom of the oven bag. Chop the carrots and celery and also place them in the bag. Pour in the peppercorns, and place the bay leaves.
- Pour in 1 cup of organic chicken stock on top of the veggies.
- Open the turkey bag and remove the gravy packet-throw that away. Then carefully remove the turkey and rinse well. Pat dry if you want, but I never do that. Repeat for the second turkey breast. Place them in the oven bag.
- In a large bowl, melt the butter in the microwave. Make sure to cover your bowl in case you get splatters. Pour melted butter onto the tops of each turkey breast, trying to cover all the skin areas.
- In a small bowl, mix the sea salt, black pepper, sage, thyme, and chives. Sprinkle on the tops of the turkey breasts. And gently rub in if necessary.

- Close bag with the tie provided in the oven bag kit. Using a sharp knife cut 5-6 slits in the top of the bag.
- Turn oven down to 325 degrees F. Place roasting pan in your oven on the LOWEST rack. You will need to remove all other racks as the bag expands while cooking. Cook for 2 hours and 30 minutes. I like my turkey cooked to at least 180 degrees F. To me, this achieves the best texture. I have even let it cook until 200 degrees and it is still perfect every time.
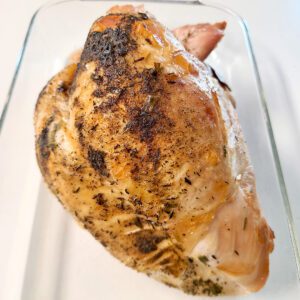
- Remove the roasting pan from the oven. Carefully cut open a hold in the top of the oven bag and gently lift out the turkey breasts and place them in another pan or baking sheet to rest. Cover loosely with foil and let rest for at least 30 minutes before slicing.

- In the meantime, gather a medium sauce pan and a metal sieve, with an oven mitt carefully lift the oven bag with drippings and veggies. Place it over the sieve. Carefully cut a few slits in the bottom of the bag to let all the dripping drain out into the sieve and then into the pan.
- When all the drippings are drained, set oven bag aside and take off the sieve. On medium heat, bring the drippings to a boil. While it is coming to a boil, mix 1 C chicken stock with the 3 heaping TBSP of gluten free cornstarch. Mix will with a small whisk.
- Once drippings have come to a boil, slowly add the stock/cornstarch mixture while continuously whisking. Once all that is added, taste your gravy and add more sea salt, black pepper, sage, and thyme as needed. I always need to add a little bit of each. (If you feel like your gravy still needs more thickening, mix up another 1/2 C stock and 1 1/2 heaping TBSP cornstach and slowly add that as needed).
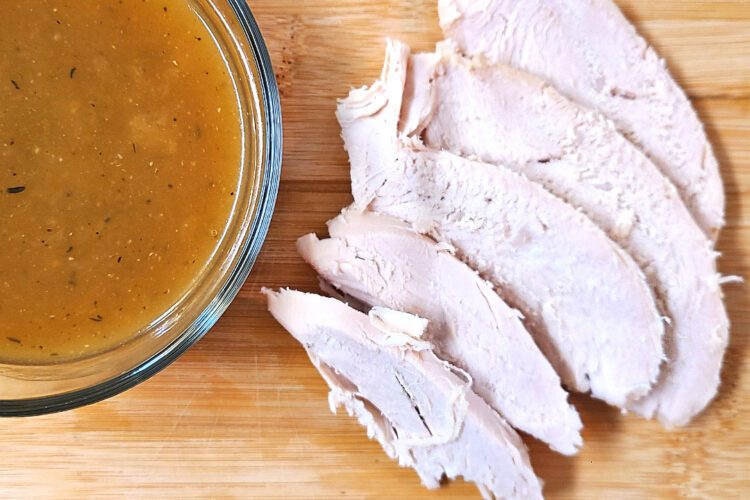
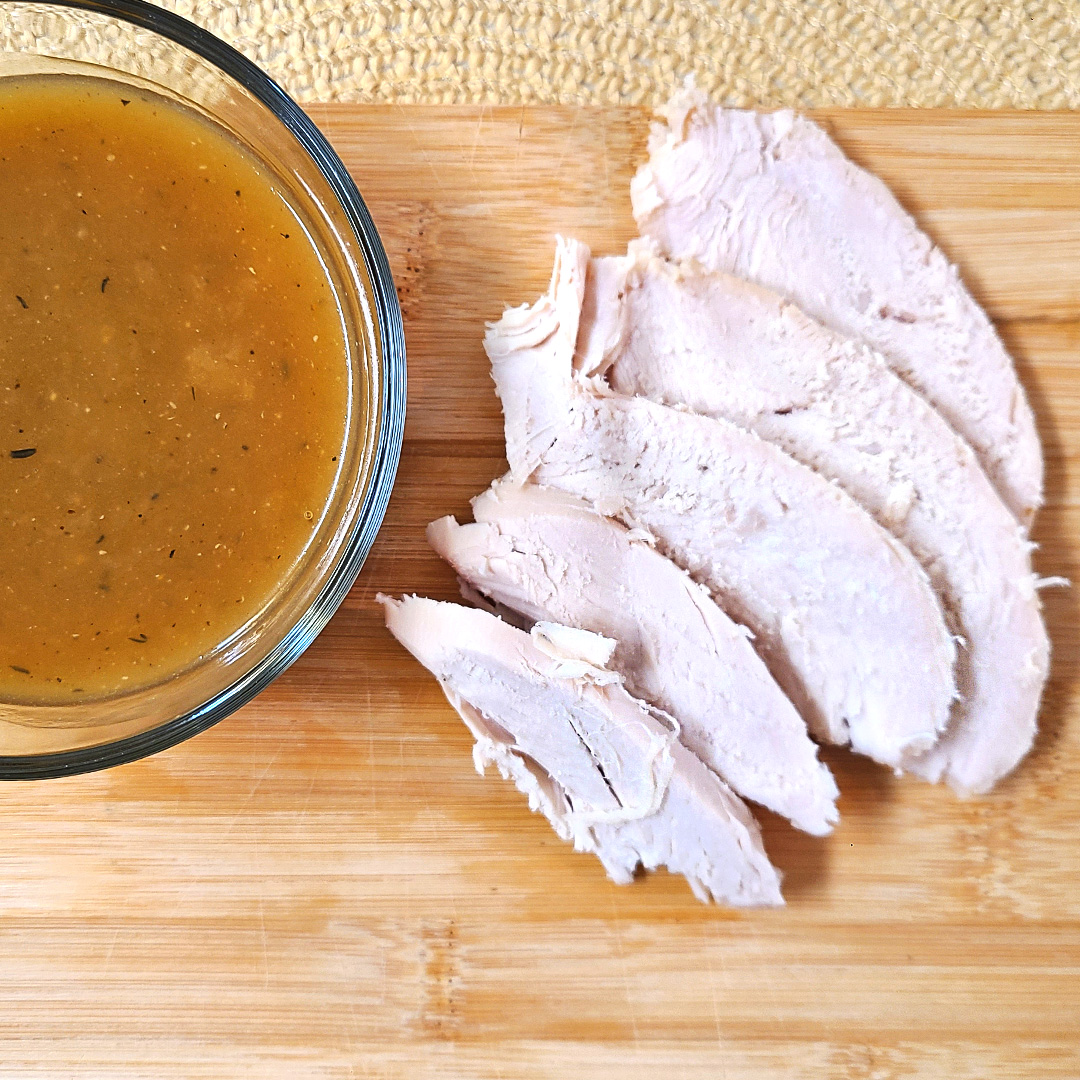
- Slice turkey breasts. Serve with mashed potatoes and this delicious homemade gravy.

Notes
I hope that you will enjoy making this recipe and feeding your family a delicious meal. I love making turkey. It is one of the easiest meals you can make because your oven does most of the work. There is always plenty of meat leftover for turkey and cheese sandwiches, turkey enchiladas, or to throw in a soup recipe. If you need a rolls recipe, you can make my dinner roll recipe here. It goes perfectly with this dinner, and makes great turkey and cheese mini sandwiches too.
Happy Baking!
Emma

