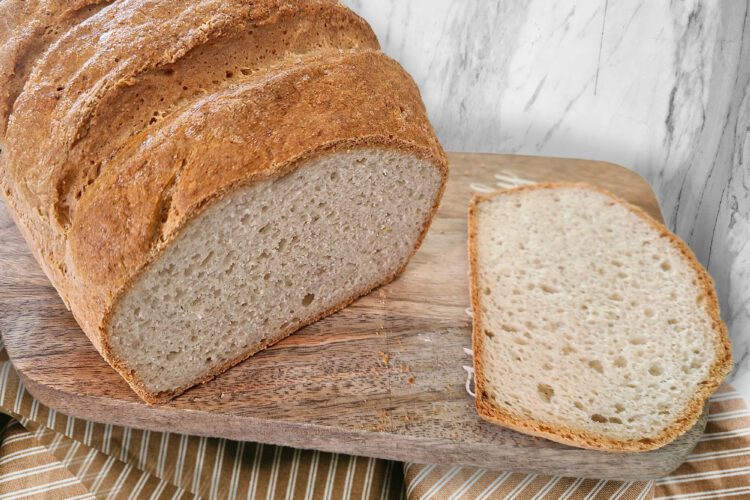
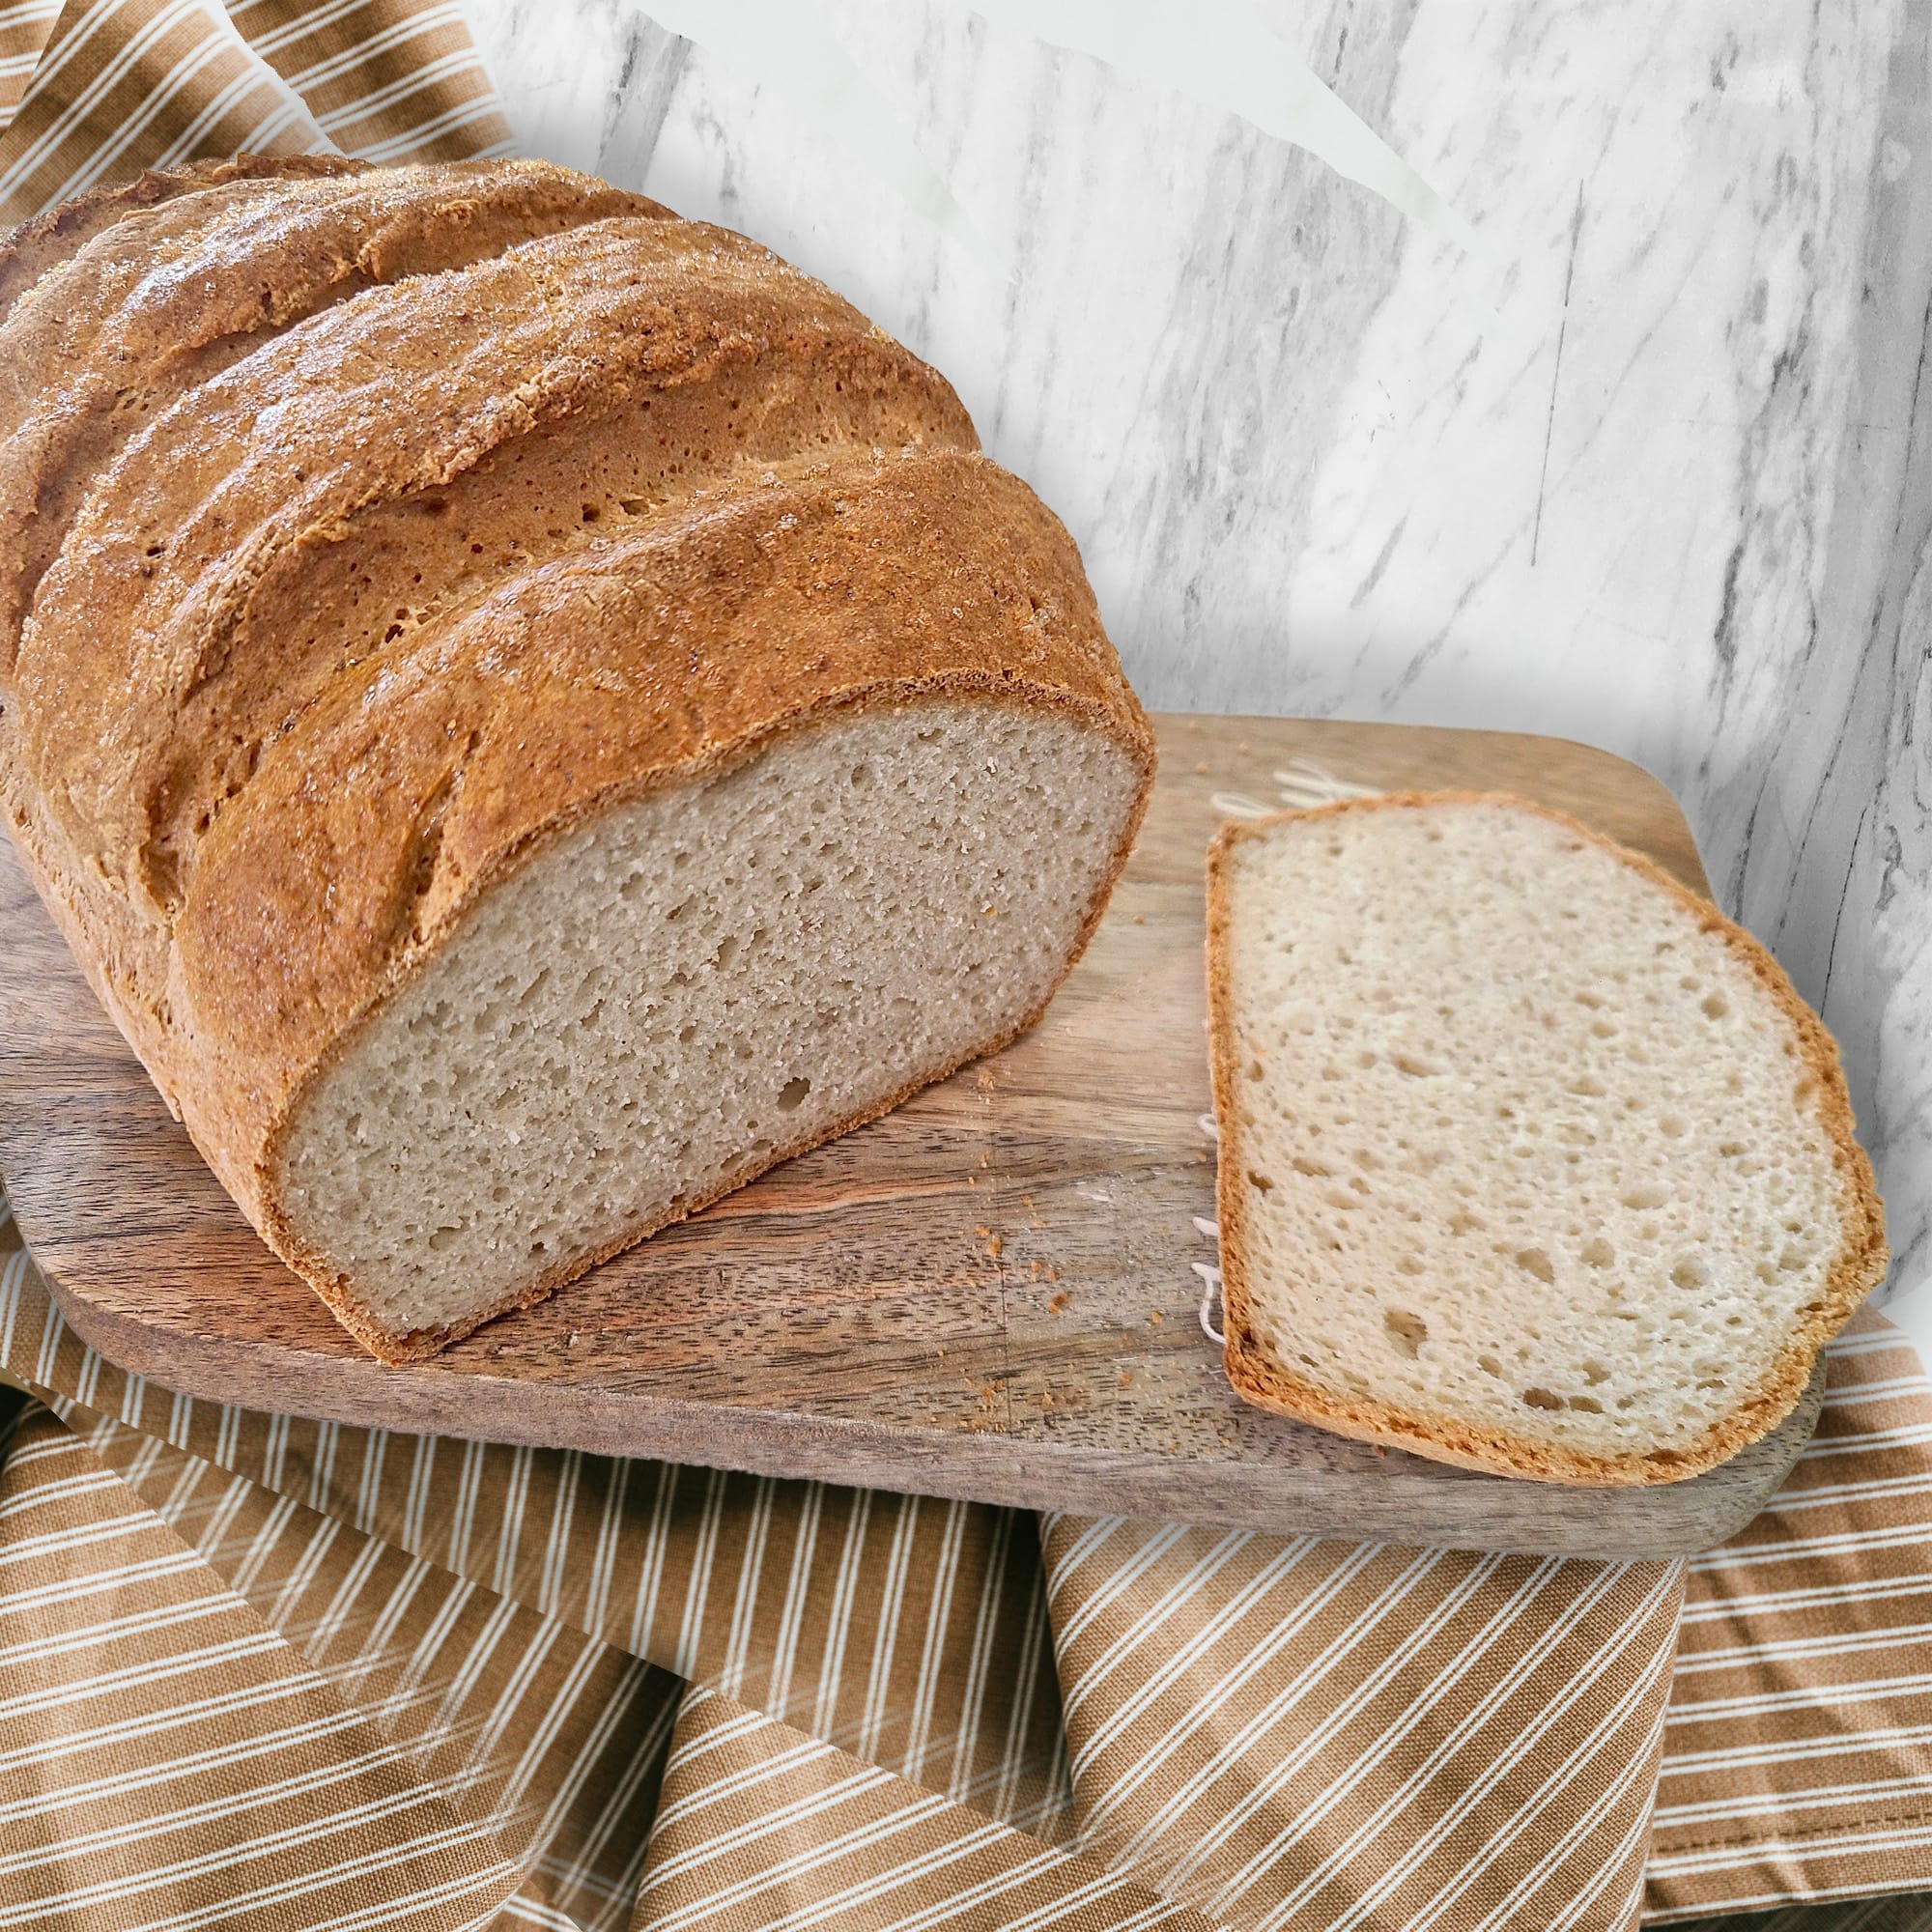
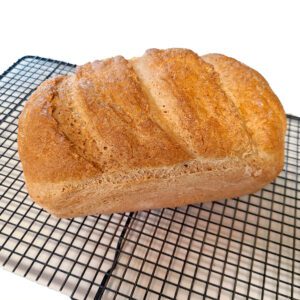
This Gluten Free Loaf Bread has been a labor of love to my family members who need to eat gluten free. I adapted it from the Loopy Whisk’s sandwich bread to work better with the taste that I prefer and also that would work with my gluten free/dairy free flour blend recipe. This has taken many months of testing, but I have to thank the Loopy Whisk for figuring out baking for this type of bread.
If you don’t want to use my flour blend, I have a neighbor who uses Loopy Whisk’s recipe but instead of mixing the flours she suggests, she only uses Winco’s gluten free flour blend(you can buy the whole large bag if you ask an employee-the flour in the bins will be contaminated).
BUT… if you are like me, and you have a more annoyingly picky palate… I think you will find using my flour blend and this recipe will give you a delicious bread that you will want to make over and over. It totally gives me the “old” bread making vibes when I make this.
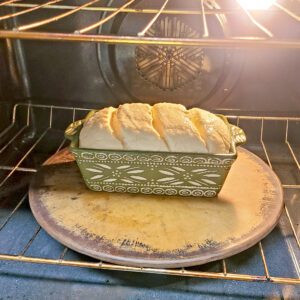
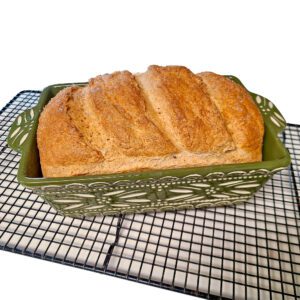
Having a pizza steel or stone and baking the bread in a loaf pan on the stone at the lowest rack really makes a difference. I don’t have a pizza steel, only a pizza stone, so that is what I place my loaf pan on. The type of loaf pan is very important too! We are trying to retain more heat around the bread so that it doesn’t have that “wet” texture that many gluten free loaf breads have. I only bake this recipe in a coated ceramic loaf pan. I was given my loaf pan many years ago, so you wouldn’t be able to replicate my exact loaf pan. But I did find one on Amazon, that should give you similar results and allow you to bake it directly on the pizza stone. This loaf pan on Amazon is the standard 9x6x3. My loaf pan is more like 8.25×5.5×2.75, so it gives a more square-ish shape, which I like when I am making sandwiches.
Why do I make my own blend of gluten free flour? Because I can’t find any other blend that gives the flavor I want. Many other blends have an “off” flavor to me and I just can’t use them in my baking. Also, a lot of blends include psyllium husk or xanthan gum. But the amounts you need of these two ingredients totally varies depending on if you are making cookies, cakes, or breads. If you want to do a lot of baking, it really is best to add these two ingredients as needed for each type recipe.
Another note about my df/gf flour blend. This is the blend I use all the time now for cooking. I simply only make this blend now, because sometimes I do need to make my recipe gluten free and dairy free, but not always. This bread recipe does contain whole milk. Whole milk is an important part of gluten free baking as it adds fat/protein which is necessary for a lot of baking recipes. If you do need to use dairy free milk, I haven’t experimented with that yet. I would assume that this recipe would need some additional adjusting to account for the lower fat/protein content.
Emma’s Gluten Free Loaf Bread
Ingredients
Equipment
Method
- This recipe uses a "proofing oven" to help get an even rise. Preheat your oven to 170 degrees, then turn it OFF. I have a second oven, so I am able to preheat my second oven while my bread is still proofing. If you do NOT have a second oven, you will need to proof part of the time on the counter while you oven has time to heat up your pizza stone.
- In a medium sized bowl, weigh and add all the dry ingredients: df/gf flour blend, psyllium husk powder, instant yeast, xanthan gum, and sea salt. Mix well and then add to Bosch mixing machine.
- In a separate bowl, weigh olive oil and honey. Set aside.
- In a microwave safe bowl or measuring cup, weigh the water and milk. Microwave for about 45-50 seconds or until it is warm, NOT hot. We don't want to kill our yeast.
- Add the olive oil/ honey mixture, water/milk mixture, and eggs to the Bosch machine.
- Turn on to speed 1 until just combined. Stop and using a spatula, scrape the sides of the mixing bowl. Then turn onto speed 2 for 4 minutes.
- Turn dough onto a LIGHTLY floured(with the same df/gf flour blend) surface. Knead the bread just lightly. It is not a traditional kneading of regular bread, but a gluten free kneading- so it's a more gentle folding. Too much extra flour or kneading will cause the dough to "crack".
- When the dough is done, place the dough into your coated ceramic loaf pan. I don't need to grease my pan at all for this recipe. but please grease yours if you need too. Using a bread lame or sharp knife, slice the top of the bread three times. This is important to slice the bread now so that it will rise properly.
- Gently cover with plastic wrap- leave plenty of room for the bread to rise, but we don't want the bread to dry out in the proofing process.
- Proof in the warm oven(with heat turned OFF) for 45 minutes.
- If you have a second oven, place the pizza stone on the BOTTOM rack and turn the oven on to 400 degrees about when your bread has proofed for 30 minutes. If you do not have a second oven, remove bread from proofing oven to finish proofing on the counter while your oven preheats.
- Once the bread has finished proofing, about 45 minutes, remove the plastic warp. The bread should feel nice and fluffy and have risen slightly above your loaf pan. Whisk the egg white, and gently baste the top of the bread. This is an important step! Don't forget to do this. It really helps with the browning on the top of the bread, and it also helps the bread to not dry out on top.

- Bake loaf at 400 degrees for 1 hour and 5 minutes(your oven may be slightly different).
- When bread is done, immediately remove from loaf pan and let it cool on a wire rack. This bread, like all gluten free loaf breads, needs to cool completely before cutting into. I know it's hard, but wait.
Notes
- 24 oz Rice Flour
- 7 oz Almond flour
- 1 oz Buckwheat flour
- 7 oz Potato Starch
- 3 oz Arrowroot Starch
- 2 oz Cassava Flour
I hope that you will enjoy making this gluten free loaf bread recipe. It has helped our family to enjoy bread again in our home.
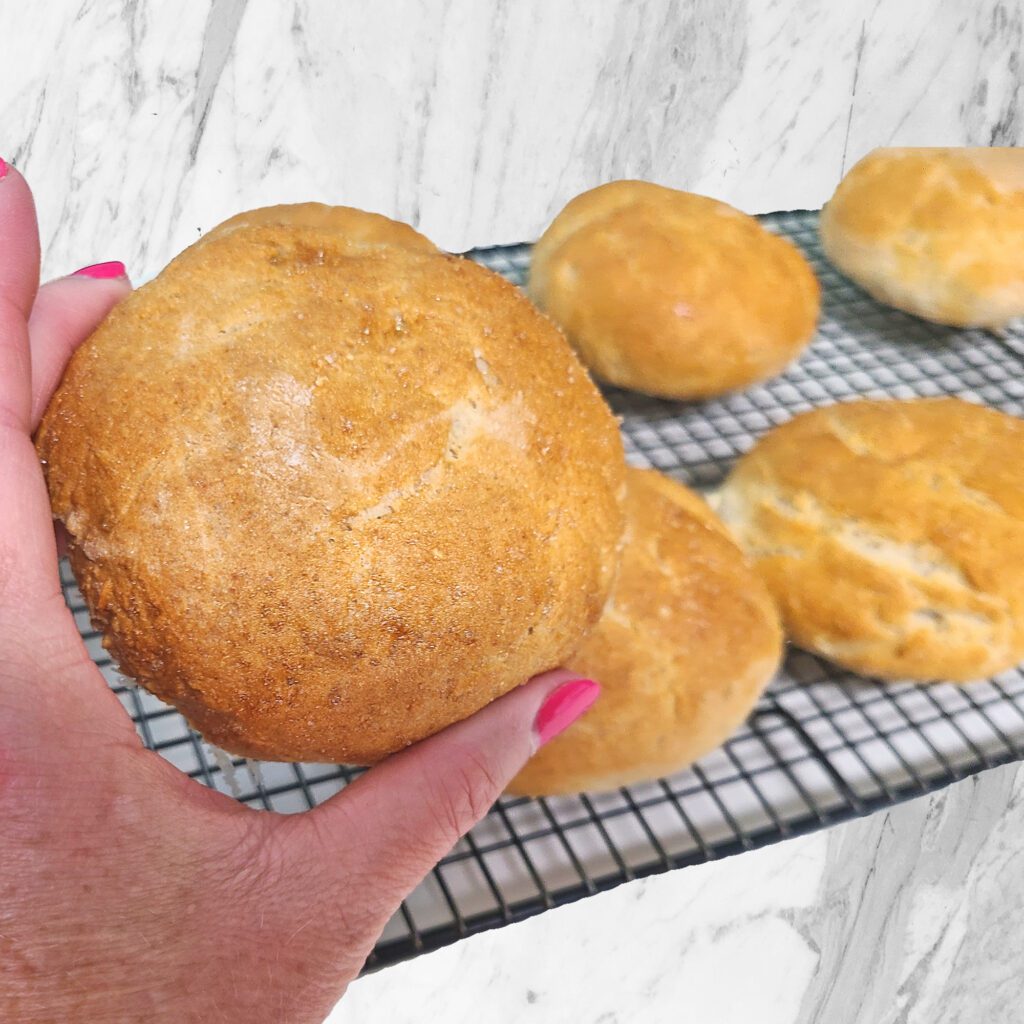
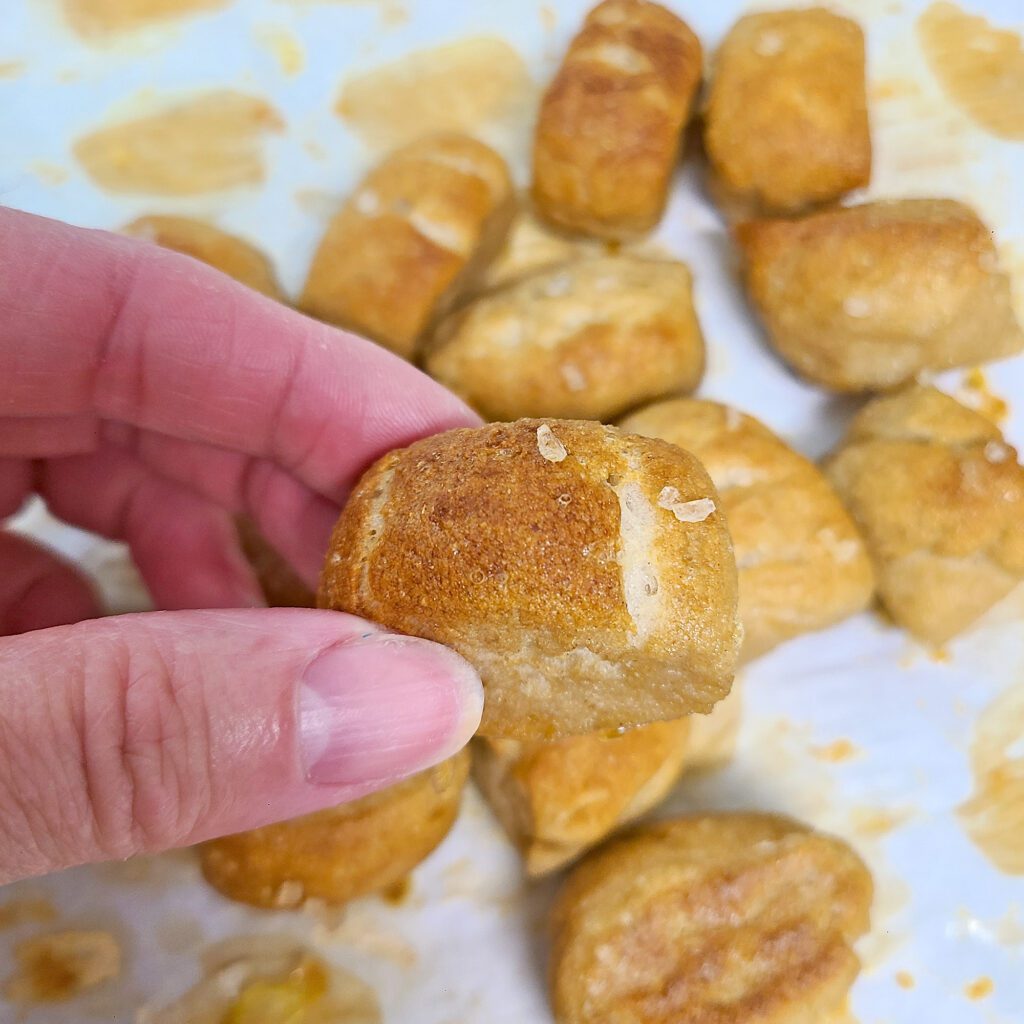
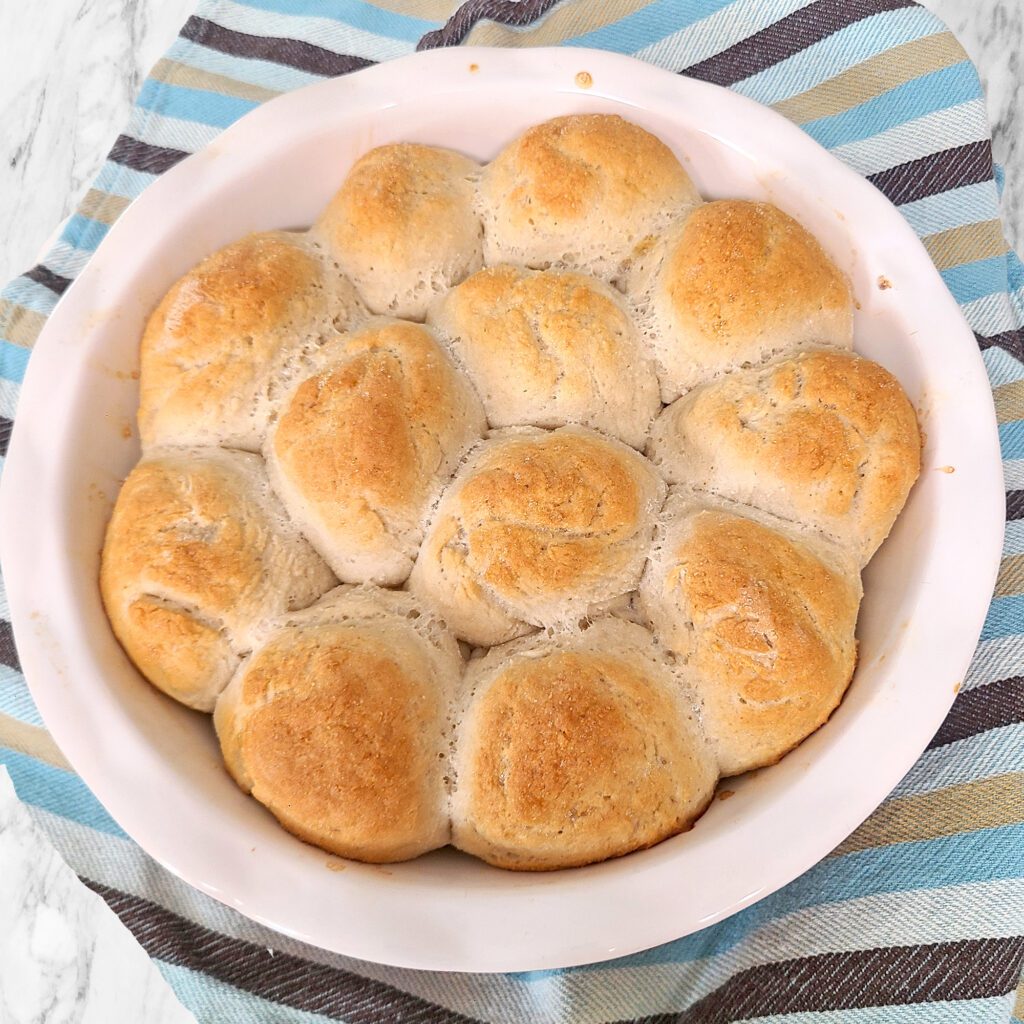
And if you want to create great rolls, hamburger buns, or pretzel bites, see the notes section of this recipe. I think that this recipe for hamburger buns and rolls is better than my other recipes for these on my blog. This is my most versatile dough yet, and I love that I can make one recipe for so many things.
Happy Baking!
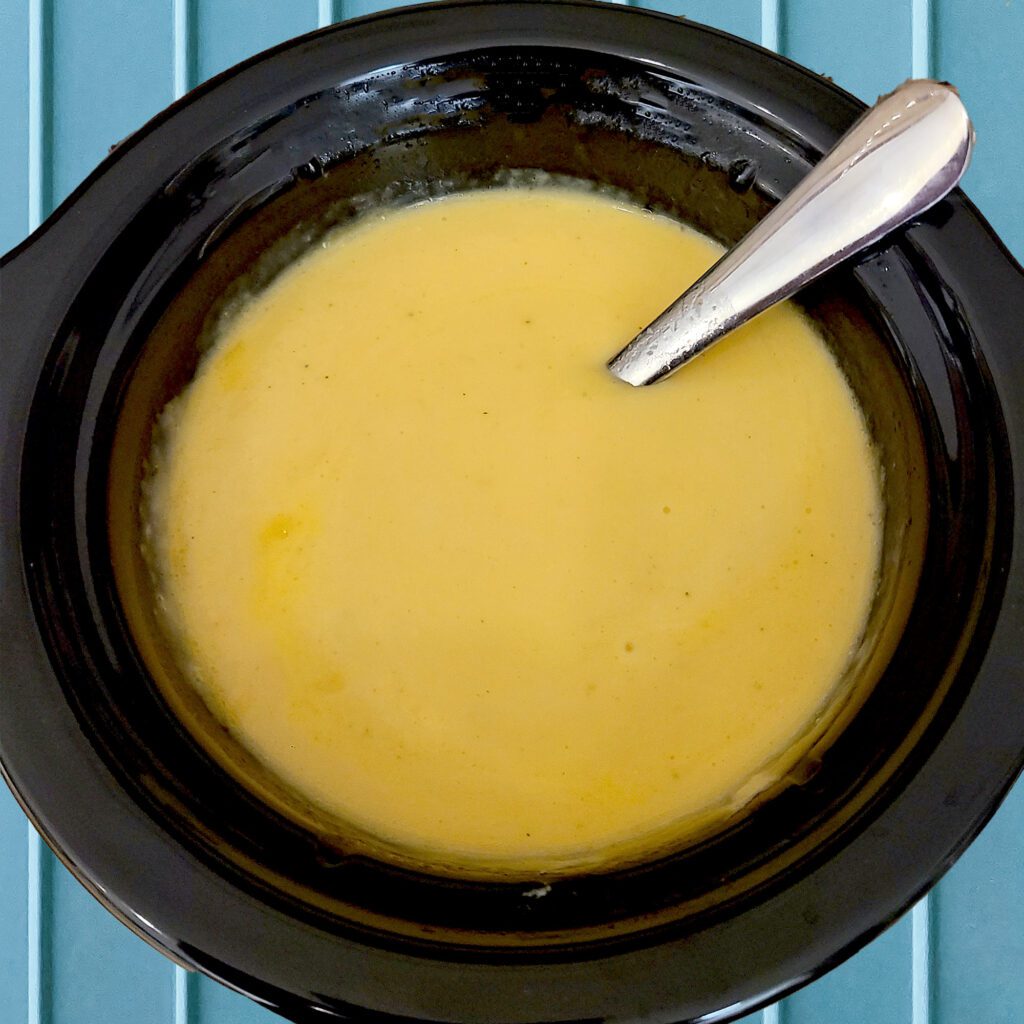
P.S. Want a yummy, easy cheese sauce for dipping the homemade pretzel bites? Click here


[…] and EASY cheese dip is perfect for my homemade pretzels that you can find in the notes section of Emma’s Gluten Free Loaf Bread recipe. My gluten free loaf bread recipe works easily to make rolls, hamburger buns, and pretzel […]
[…] buns. I have since made a new and updated version, and it is currently in the notes section of Emma’s Gluten Free Loaf Bread. My new bread recipe is one that can be made into rolls, hamburger buns, baked pretzel bites, and […]