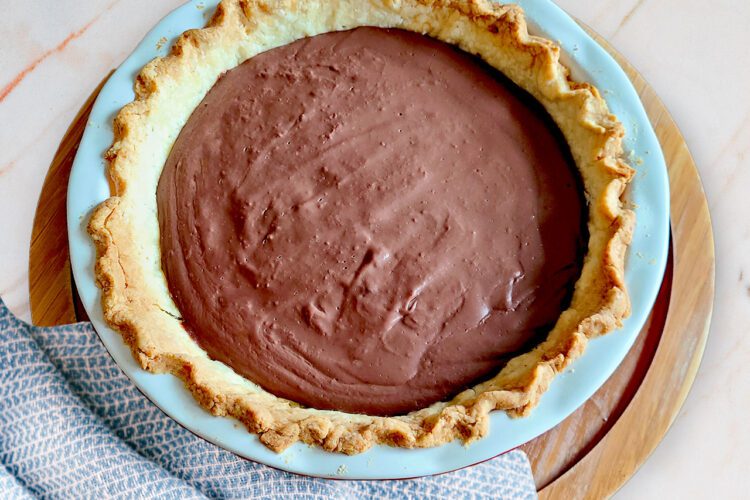
Do you have a family tradition involving pie? For my side of the family, it is chocolate pie. When my kids were diagnosed with celiac disease, this was one of the recipes I mourned as I tried time after time to make a gluten free pie crust that tasted good. Who know that would be so difficult? But now that I figured out making my own gluten free pie crust, making this gluten free chocolate pie filling brings smiles to my family.
I will be the first to admit that making your own pie crust takes time, patience, and practice. If you just don’t have time, there are frozen gluten free pie crusts that you can bake, but I find these hard to consistently find in my area.
Please note that the filling in this recipe is Chocolate Fudge Jello pudding is the COOK & SERVE type. Don’t get the instant kind, it simply will not work and you don’t want to go to all that effort only to realize your filling won’t set right.
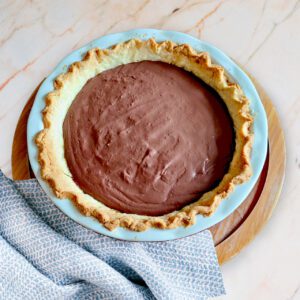
Gluten Free Chocolate Pie Filling
Equipment
- 1 pre-baked pie shell in a 9 in pie pan
- 1 medium sauce pan
- wire whisk
- spoons, spatula, measuring cups/spoons
- plastic wrap
Ingredients
- 1 pre-baked gluten free pie shell can be store bought or make my homemade one
- 1 large pkg Chocolate Fudge COOK & SERVE Jello Pudding
- 2 3/4 C milk I use lactose free milk
- 1/3 C guittard milk chocolate chips
- 2 TBSP unsalted butter
Instructions
- Make sure you have your single crust pie shell baked and cooled before beginning the filling.
- In a medium saucepan over medium heat, combine pudding and milk. Stir well using a wire whisk.
- Add butter and stir occasionally. Once butter is melted, add chocolate chips and stirring constantly(to avoid pudding sticking to pan) bring mixture to a boil. Once it comes to a boil, remove immediately from heat.
- Set a timer for 10 minutes. Stir mixture every 3 minutes or so during this 10 minute period. As the pudding mixture cools, it will form a "crust" on the top. You are stirring to help make sure the mixture stays smooth as possible.
- After the 10 minutes, gently pour into cooled pre-baked pie shell. Using a spatula, smooth the top of the pudding. Let cool at room temperature for about an hour.
- Then cover loosely with plastic wrap and let finish cooling and setting in the fridge for several hours or even better overnight.
- Serve with whipping cream if desired.
Notes
I have learned a lot about how gluten free flour blends behave and what ingredients are essential for recipes to turn out. I have also learned that for gluten free pie crust to work, you need to have pie weights. They work so much better in my opinion that dried beans. I purchased mine from Orson Gygi here in Salt lake and I have linked to their website. You can find these type of weights in various places too.
Good luck and happy baking! This is my husbands favorite pie that my mother makes. And I am glad that I can still make it for him-gluten free!
Emma
PS If you don’t want to mess with a crust at all, you could simply line a muffin tin with reusable liners, spoon in the pudding filling and let it set. Serve it with a bit of whipping cream and it would be so cute!
